EuroVelo 7: Burghausen to Bolzano — Our 440km Alps Cycling Guide
Why we started at Burghausen instead of Passau, how we navigated Eurovelo 7 when the signs ran out, and what we’d do differently next time
First, A Word About Passau
Most cyclists doing EuroVelo 7 start at Passau. It’s the classic entry point — a beautiful city at the confluence of three rivers, well connected by train, and the obvious beginning of the Sun Route south through Austria and into Italy.
We didn’t start at Passau. We started at Burghausen — a lesser-known medieval town on the German-Austrian border — because time constraints forced our hand. My daughter Annie had been at a conference in Munich for five days. Minimising time away from Australia was a sad reality.
But here’s the thing: when we went looking for information about the Burghausen segment of EV7, we found almost nothing. Plenty on Passau. Plenty on the Austrian stages further south. The Burghausen entry point was a content desert.
So this post exists partly to fix that. If you’re planning EV7 from Burghausen — or trying to decide between Burghausen and Passau — this is the guide we wish we’d had.
The Ride at a Glance
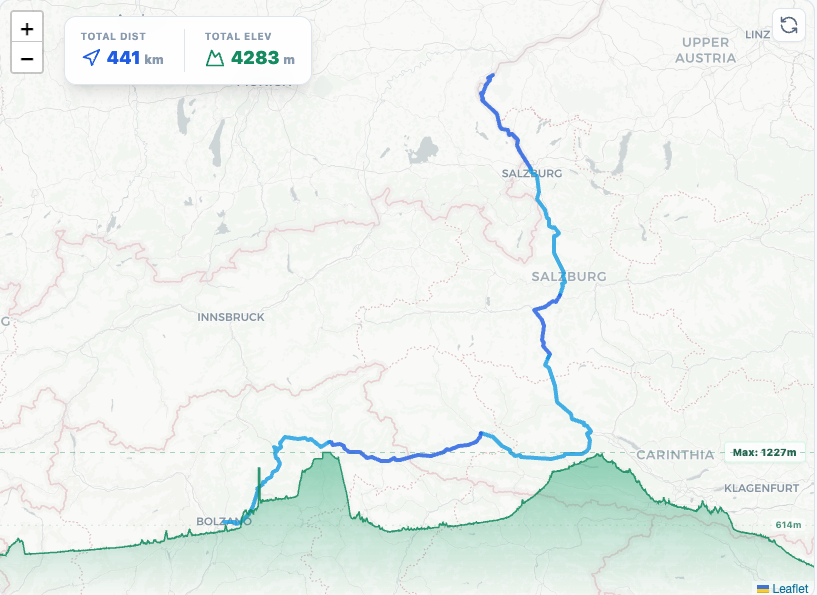
- Route: Burghausen → Salzburg → St Johann im Pongau → Bad Gastein → Lienz → Bruneck → Bolzano
- Countries: Germany → Austria → Italy (South Tyrol)
- Distance: ~420km of riding across 6 stages
- Hardest Day: St Johann im Pongau → Bad Gastein: 42km / 1,058m climbing
- Riders: Drew (65) and Annie (33) — father and daughter, Sydney Australia
- Navigation: EV7 GPX from Eurovelo.com loaded on Garmin (Drew) and GPS watch (Annie)
- Planned using: TripMonkey — An app I built because nothing was available
Who We Are — And Why This Trip Is a Bit Different
I’m Drew. I’m 65, retired, love cycling, love travel and increasingly convinced the best use of time is doing memorable things with people who matter. Annie is my daughter. She’s 33, and she is not along for a gentle ride.
Annie can pack a bike bag faster than I can Google how to pack a bike bag. She removes the derailleur before the bikes go into cases — a detail that sounds minor until you’ve seen what airport baggage handlers do to an unprotected mech. She navigated with a GPS watch. She set the pace on the climbs.
I kept up. Mostly.
This is not a story about an old man being brave. It’s a story about what happens when you stop making excuses and just go.
Getting There — The Munich Prologue
We flew Sydney to Munich together — economy, Singapore Airlines, bikes in bags. Annie handles the packing. I handle the points. Between us we have the system dialled.
Flying economy with bike bags requires precision. You’re juggling checked baggage weight limits against the size of the cases. Annie’s move of removing the derailleur protects the most vulnerable component making for a guaranteed start. We’ve refined this over multiple trips.
We had two different baggage allowances; Annie got 25kg and hand luggage. My Silver Status bumped it me to 30kg. This was tight when using a Scicon bike bag and gravel bike. With the Scicon its a trade off between wheels and weight. Be ruthless with packing.
💡 TIP: Facebook marketplace is a great place to find bags to rent if you dont want or need to own one.
The Munich Warm-Up
Annie’s conference was at Messe Munich — a 20-minute trip from our hotel. While she was in sessions, I was recovering from the long haul and doing recce rides. It’s a brilliant way to structure a trip: an existing commitment becomes the acclimatisation/jet lag recovery phase.
On arrival we got an early check in, unpacked the bikes and did a shakedown ride to Freising (39km, 81m climbing). A great way to blow away cobwebs. Day two was a train to Lenggries a ride to Achensee in Austria and then a return to Tegernsee (73km, 673 climbing). I then did a train to Starnberg and a loop around the Starnberger See and back to Munich (81km, 464m climbing). None were on EuroVelo 7 — I simply Googled ‘cycling from Munich’ and these routes came up. They were perfect warm-up distances before the serious riding began.
Day One Lesson: The S-Bahn Fine
Before we even reached EV7, we made an expensive mistake. We boarded the Munich S-Bahn with bikes and no bike tickets. An honest error — jet lag, unfamiliarity with the German system (its free in Sydney!), genuine ignorance. We tried to get off at the next stop but the inspectors followed us off the train (and then back on again). They gave us two options: pay the fine or wait for police.
We paid €60 each. About AUD$100 per person for a 20-minute train ride.
⚠️ WARNING: BIKE TICKETS ON GERMAN TRAINS ARE COMPLETELY SEPARATE FROM PASSENGER TICKETS. Buy them before boarding — at the ticket machine, counter, or MVgo app. Inspectors are not sympathetic and we were not given the option to buy one once on board.
EuroVelo 7 — What You Need to Know Before You Go
What Is EuroVelo 7?
EuroVelo 7 — the Sun Route — runs from the North Cape in Norway to Malta. The section we rode covers the Alpine crossing from Bavaria through Austria into South Tyrol. It’s one of the great long-distance cycling routes in Europe. Signage is excellent, although some parts are under construction and you need to be flexible.,
The Signage Reality
EV7 signage in this section is generally good — but it is not always called EuroVelo 7. You’ll see regional route numbers, local cycling path signs, and occasional EV7 markers. They all refer to the same route but if you’re only looking for ‘EV7’ signs you will get confused.
Our solution: we downloaded the official GPX file from Eurovelo.com before we left. Used Strava to break it into each leg. I had it loaded on my Garmin and phone. Annie had it on her GPS watch. When the signs ran out or contradicted each other, we triangulated between the two devices. It worked flawlessly.
💡 TIP: Download the EV7 GPX from Eurovelo.com before you leave home. Load it on every device you’re carrying. Sometimes Eurovelo was out of date so we followed the regional signs. This worked well.
💡 TIP: Check Eurovelo.com for route completion status on your specific segment before you commit. Some sections exist on the map but not yet on the ground.
Why Burghausen — And Why You Might Prefer Passau
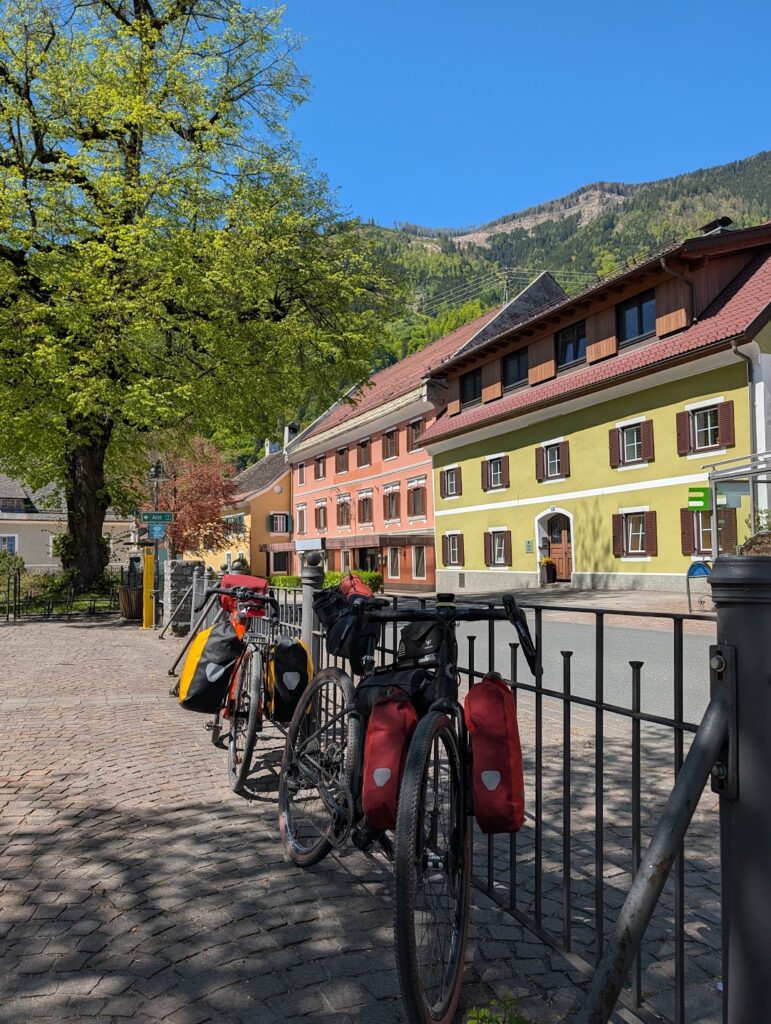
Burghausen sits on the German-Austrian border, roughly midway between Munich and Salzburg. It’s an unusual EV7 start point — most guides don’t mention it — but it’s a perfectly logical entry if you’re coming from Munich and time-constrained. Its a super easy train trip from Munich Hbf.
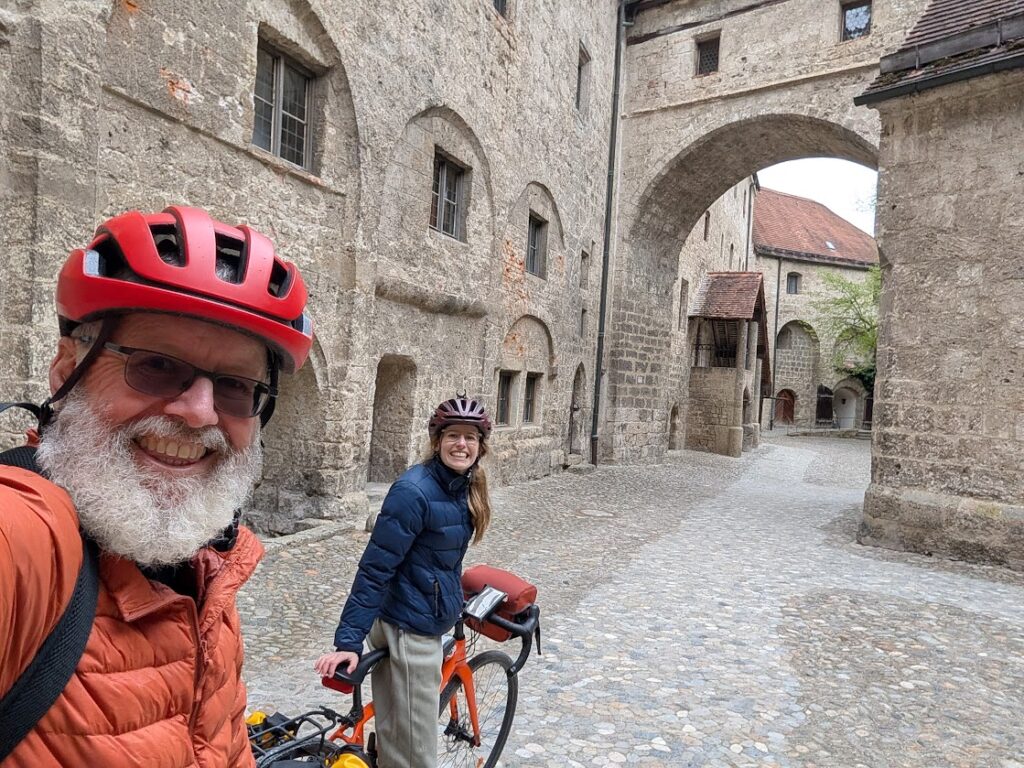
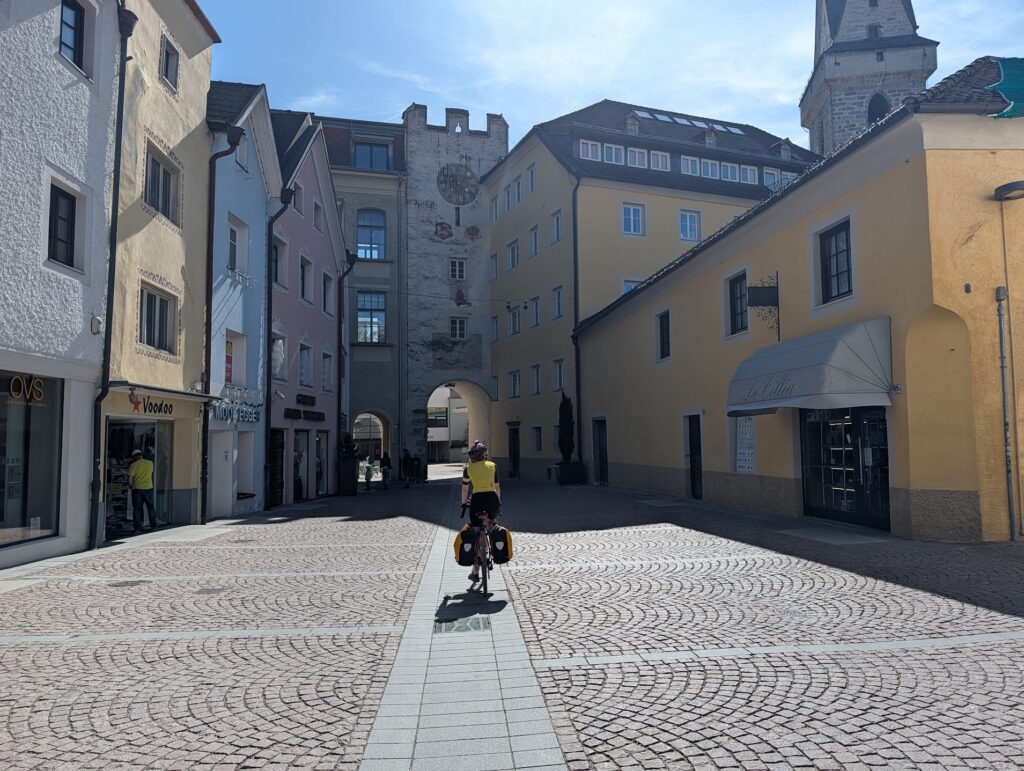
The town itself is worth a night regardless. It has one of the longest castle complexes in the world, strung along a ridge above the river. We nearly skipped it. Don’t.
If I had the choice and the time, I would have started at Passau and finished at Trento — adding roughly 150km at each end and doing the route proper justice. Passau is a magnificent start point: three rivers, a cathedral, better train connections. Trento gives you a genuine Italian city finish rather than stopping mid-valley in Bolzano.
But Burghausen to Bolzano is a very fine route. Don’t let the perfect be the enemy of the very good.
Our EuroVelo 7 Stags— Day by Day
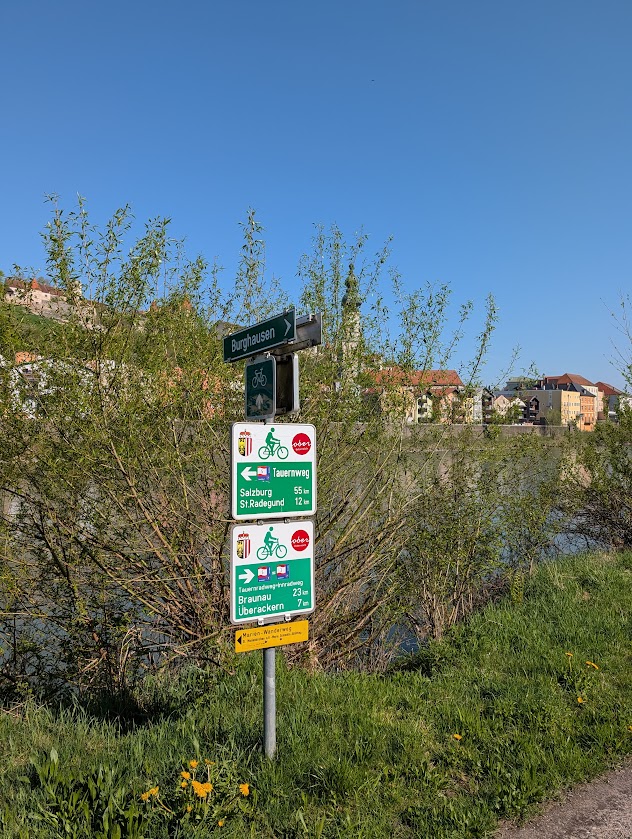
Stage 1: Burghausen → Salzburg (57km / 310m)
The first proper EV7 stage and a gentle introduction. The route follows the Salzach river valley south through rolling farmland. Signage here is good. The transition from Bavaria to Austria is seamless — you’ll notice it more in the architecture than the road surface.
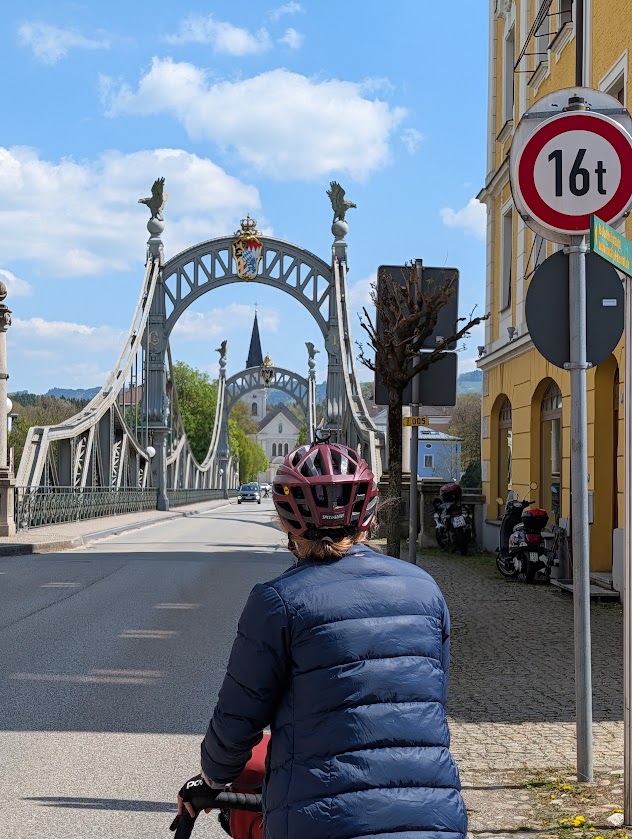
We choose an easy start as we wanted to shake down our kit. We also wanted to spend quality time in Salzburg which is a world heritage bucket list destination. Leaving Burghausen was simple cross the bridge turn right and eventually the road meets the Eurovelo 7. Then just follow the signs.
One stand out stop en route was Laufen just across the river from the Eurovelo 7. We went there to find a bakery but ended up finding a gorgeous town with the prettiest bridge on the whole trip.
Salzburg arrival is special. The Altstadt from the saddle, the fortress above — it earns its reputation.
Stage 2: Salzburg → St Johann im Pongau (68km / 597m)
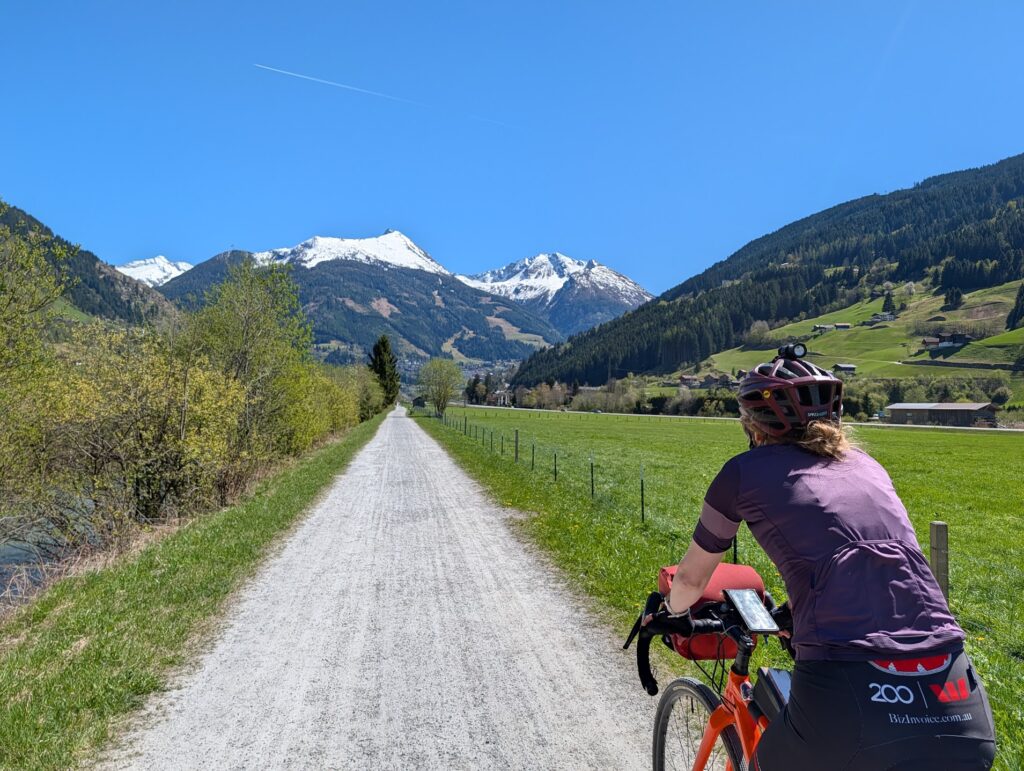
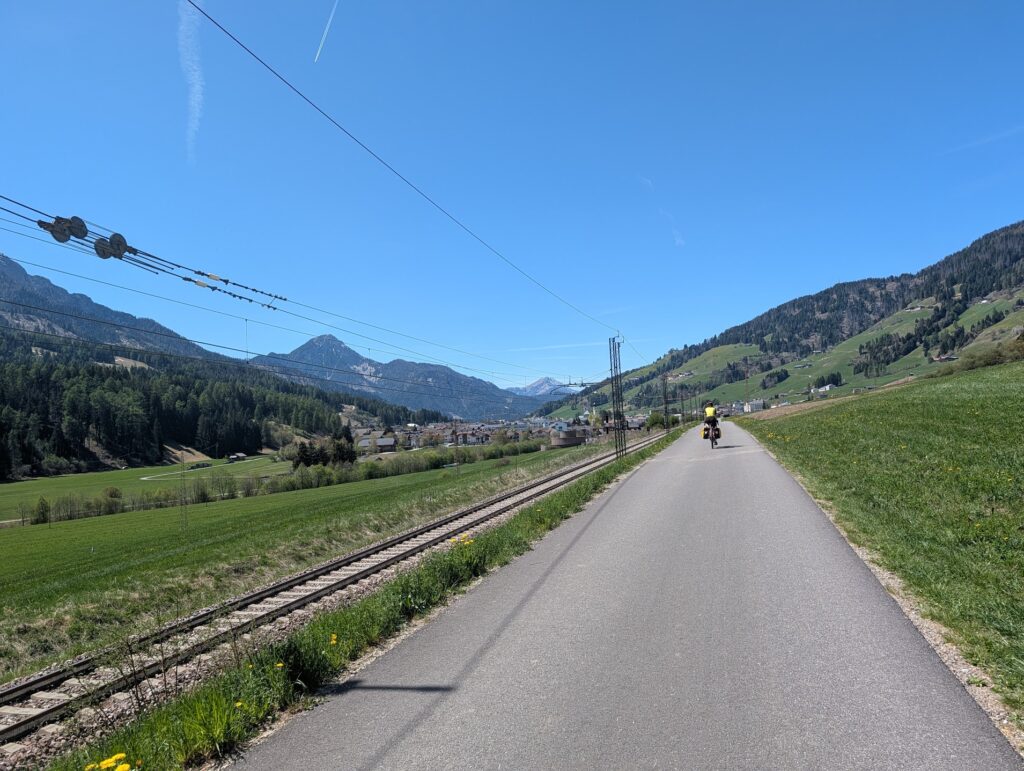
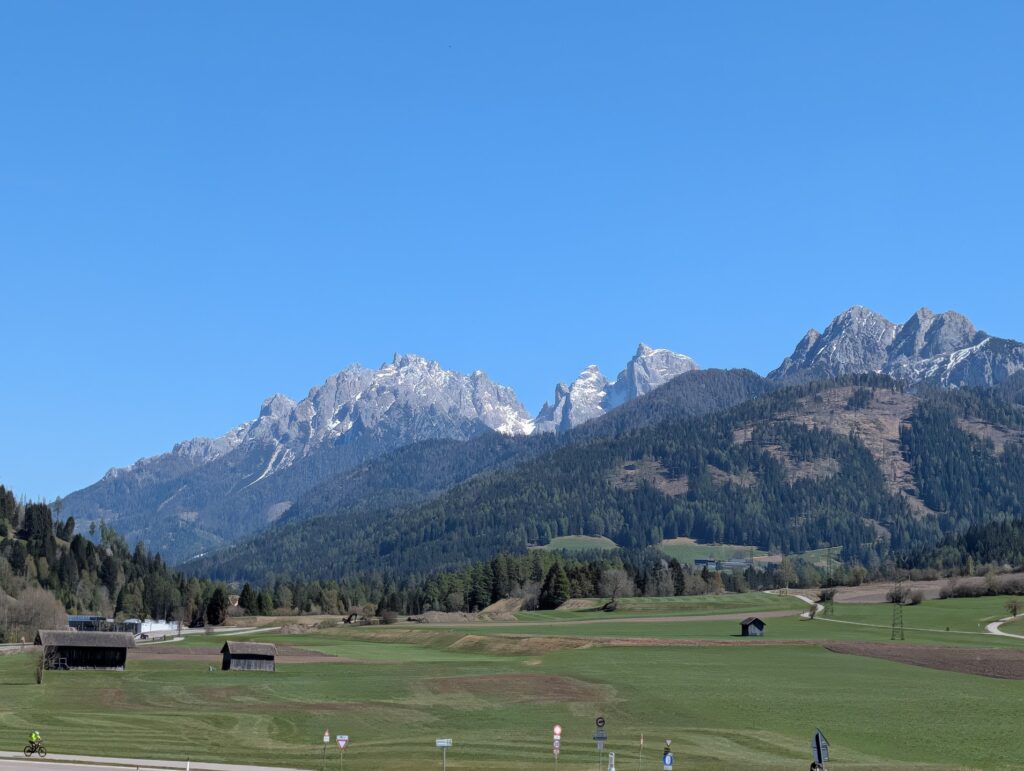
The valley riding through the Salzach corridor is beautiful and the climbing builds gradually. Don’t be deceived by the relatively modest elevation total — the last section into St Johann has enough kick to remind you what’s coming tomorrow.
This is where Sound of Music meets Where Eagles Dare. You are getting into alpine territory and the view are sensational. En route you will see Berg Hohenwerfen which is stunning. You can also do a stop by Golling Waterfall. Its €7 per person and totally worthwhile. Consider changing shoes for the walk as its a bit of a hike and we nearly lost our cleats.
St Johann im Pongau is a proper Austrian alpine town. Half board at the Alpenland Resort was the right call — the rest of the town was underwhelming.
💡 TIP: Book half board at mountain hotels where it’s offered. After long days in the saddle you want dinner waiting, not a menu decision.
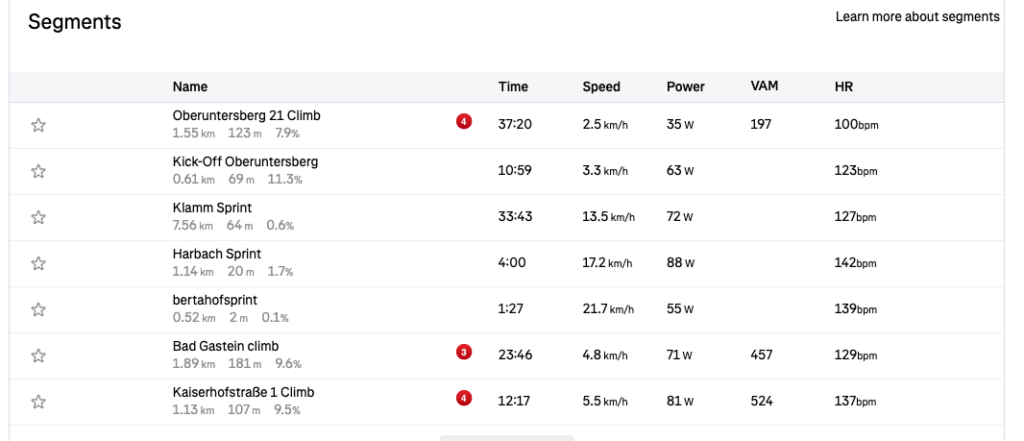
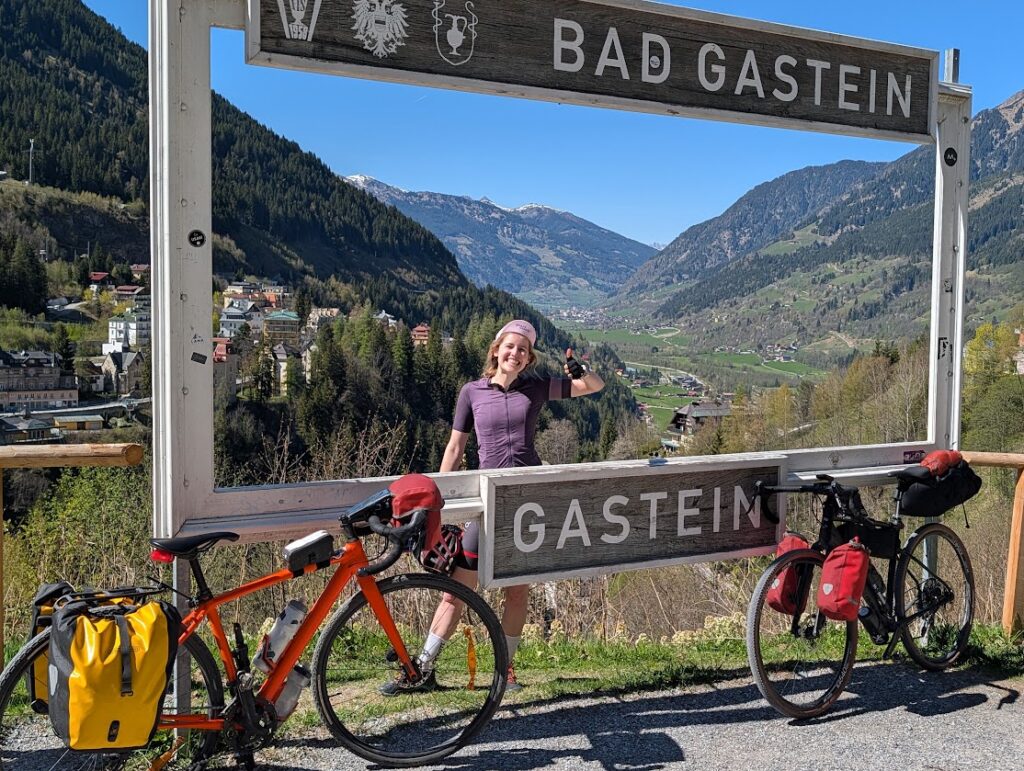
Stage 3: St Johann → Bad Gastein (43km / 783m) — The Big Climb
The numbers are deceptive. 42km sounds manageable. 783m of climbing in those 42km does not. This is the hardest day on the route and it announces itself early. The only positive (and negative) was the tunnel through the mountain to the Gastein Valley. It removes approx. 240m of climbing and replaces it with an incredibly noisy tunnel.
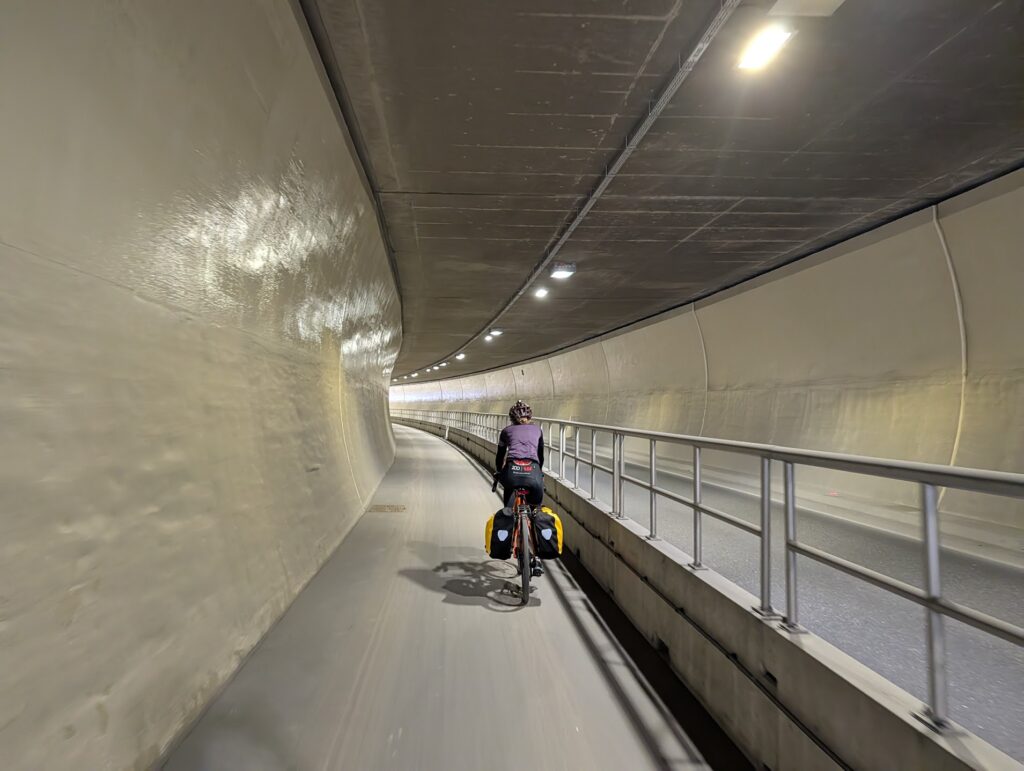
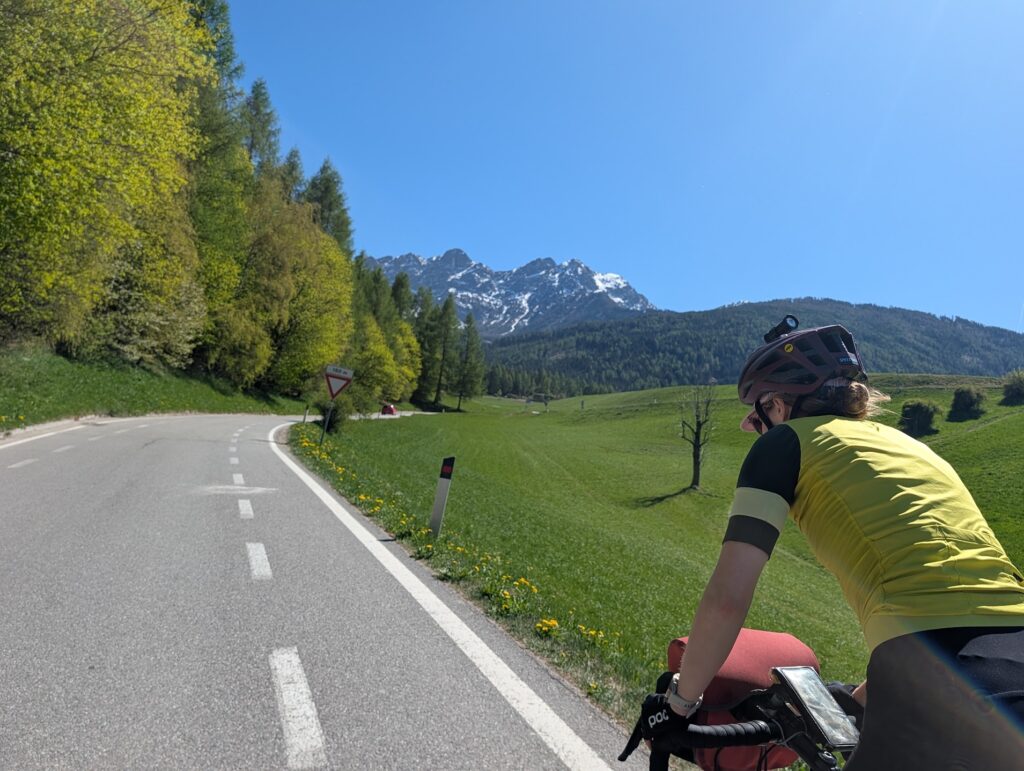
Cycling through the Gastein valley was a joy and another highlight. After the tunnel we moved off the Eurovelo 7 path and cycled on the road for a short period, the traffic was negligible.
I am not going to lie. I walked, but Annie made it to the top with all her gear. I could blame the weather (it got warm quickly) or the food (white bread and cornflakes for breakfast) or my heavy bike (not that heavy). But the reality is it was steep. I walked and to quote a good friend “there is no shame in walking!” The brutal climbs in the Gastein valley are a test for most riders (this is Annies results not mine)
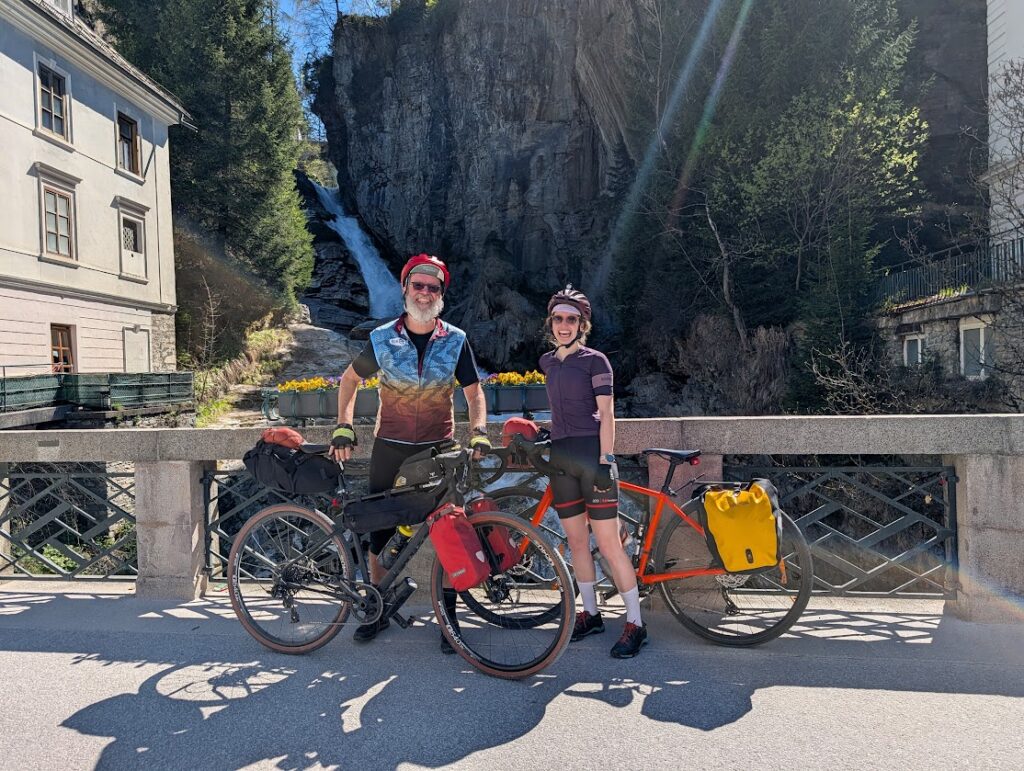
What waits at the top is worth every metre. Bad Gastein is a Belle Époque spa town carved into a gorge — dramatic, slightly surreal, and completely unexpected after a morning of grinding Alpine roads. it is also full of history with Kings and Emperors staying and signing treaties such as the Gastein Convention.
The hotel was the best of the entire trip. Hot and cold plunge pools with views that go on forever. Lowering yourself into a cold plunge while staring at the Alps after 800m of climbing is an experience I would pay double for. If there’s one night on this route to choose your accommodation carefully, it’s here.
💡 TIP: Bad Gastein is a historic spa town. Book a hotel with pool access. After 800m of brutal climbing it is not a luxury — it is recovery infrastructure.
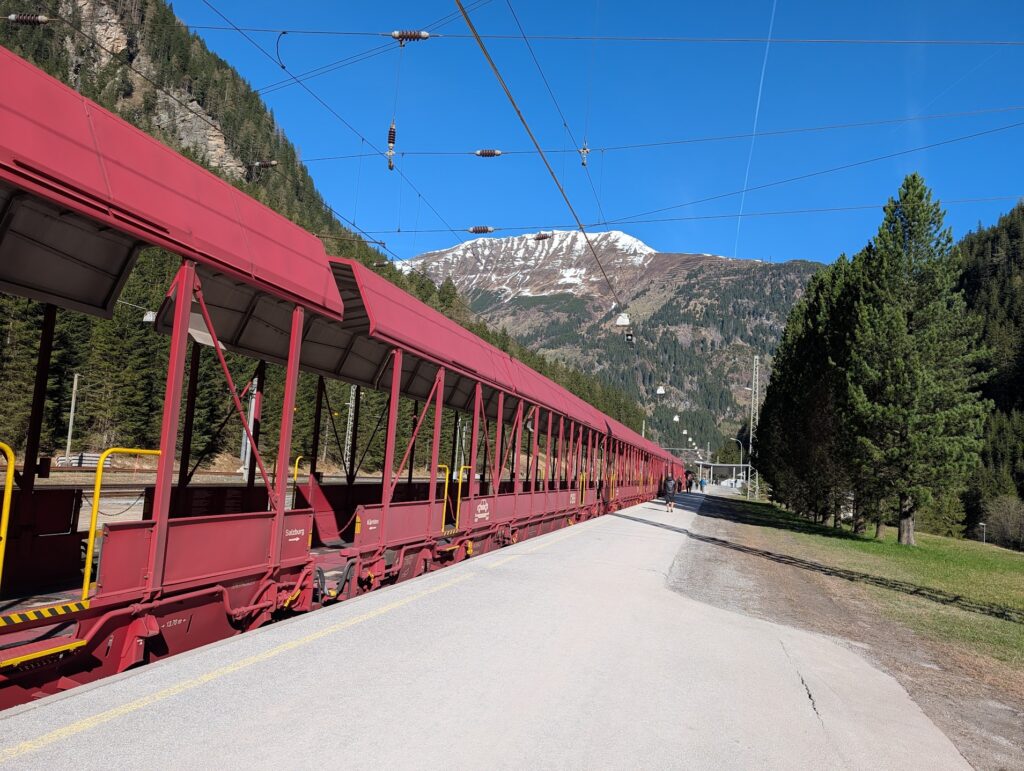
Stage 4: Bad Gastein → Lienz (101km / 721m) — The Big Day
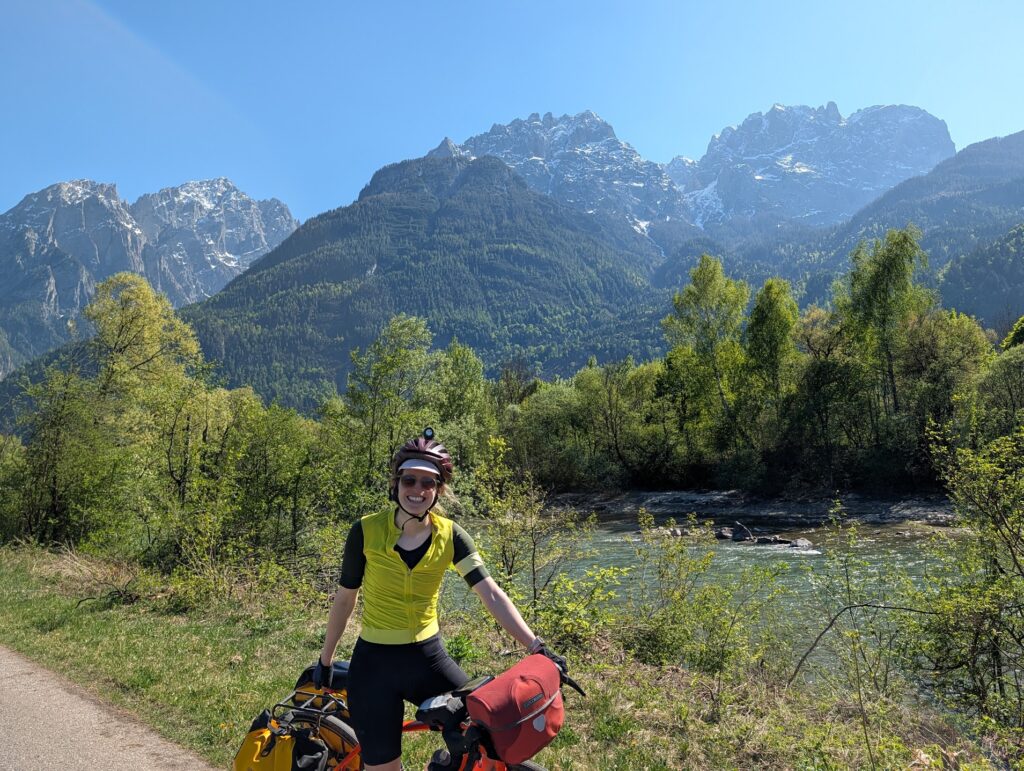
Our longest day. 101km and 721m of climbing across the Tauern into East Tyrol. The crossing from Austria’s Salzburg province into Tyrol is marked more by landscape than signposts — the valley widens, the Dolomites start appearing on the horizon.
On this trip we caught the Tauern motorail from the Gastein valley to Mallnitz Its a dedicated car/bike train. You queue with the cars, pay for yourself and bike (€ 13) and then follow directions. It is the best 11 minutes on the trip!
From Mallnitz its a cracking down hill run (double check you kit as I had a bag shake off halfway down). We picked up snacks in Mollbrucke and then ate in the beautiful square in Saschenburg. The valley is very narrow in where the Drava has cut through the mountains. After our snacks the valley opens up with the Drava as the hero.
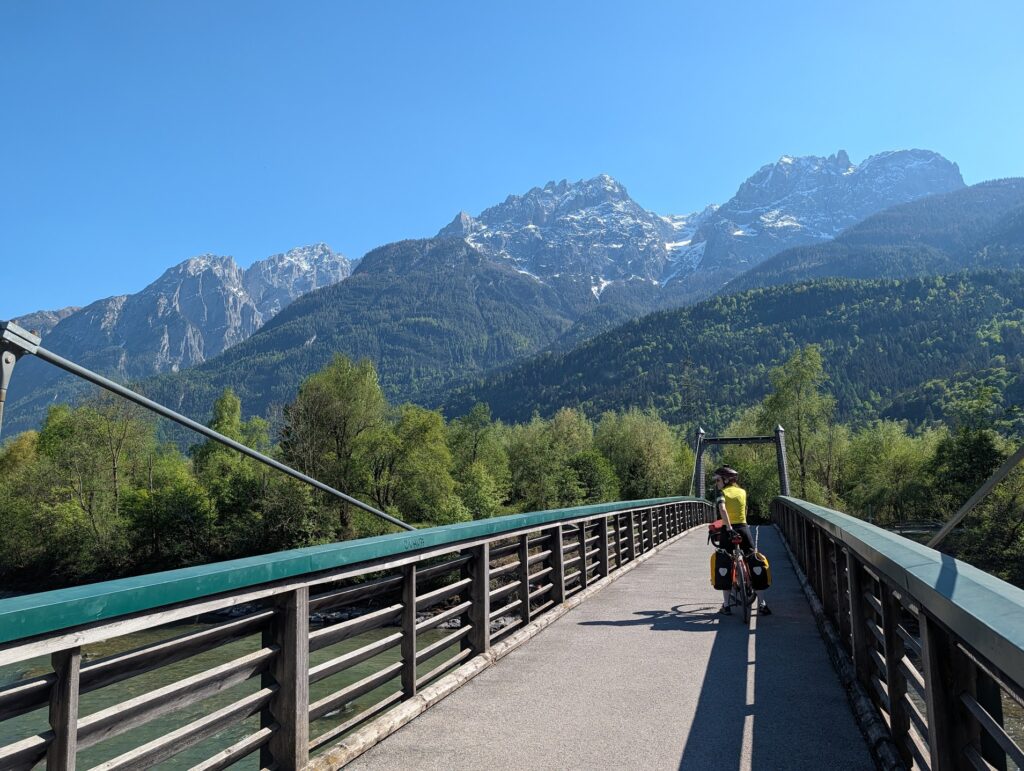
Lienz sits in a wide valley with the peaks ringing it on all sides. We think it was the prettiest town on the trip. A buzzing uni town full of people (but not tourists) and places to eat. Arriving there after 101km felt like something worth marking. We marked it with dinner and an early night.
Stage 5: Lienz → Bruneck (79km / 750m) — Into Italy
The Italian border crossing today — and with it, one of the great pleasures of cycling EV7 through this region. The language shifts to Italian (with German running alongside in South Tyrol), the coffee gets better immediately, and the Puster Valley opens up ahead of you.
The trip starts with a gentle 50km uphill ride followed by wonderful 30km roll into Bruneck. The perfect order.
The Pustertal/Val Pusteria is one of the finest cycling corridors in Europe. Dedicated bike paths most of the way, the Dolomites visible to the south. We are excited as we cross other known bike routes such as the Munich to Venice. Starting the thinking about our next adventure.
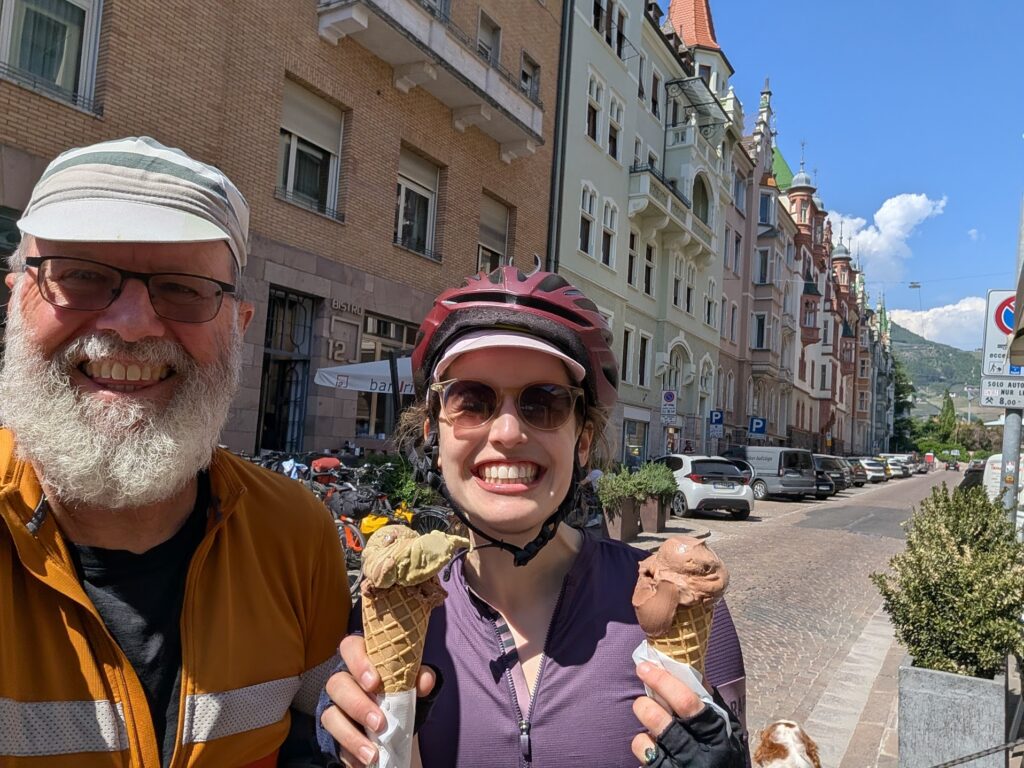
In Bruneck we probably had the best ice cream in our life. It was generous proportion, fair price and the right texture. It was also a hot day and we had done 80km or riding. It was so good we did not get a photo. it was called Konditorei Eisdiele Marlù and had 4.8 stars on Google with 500 reviews and is a must visit.
💡 TIP: In Italy you can generally drink from town square fountains. In Germany and Austria water is harder to find en route — pack an extra bottle before crossing the border.
Stage 6: Bruneck → Bolzano (87km / 621m) — The Finale
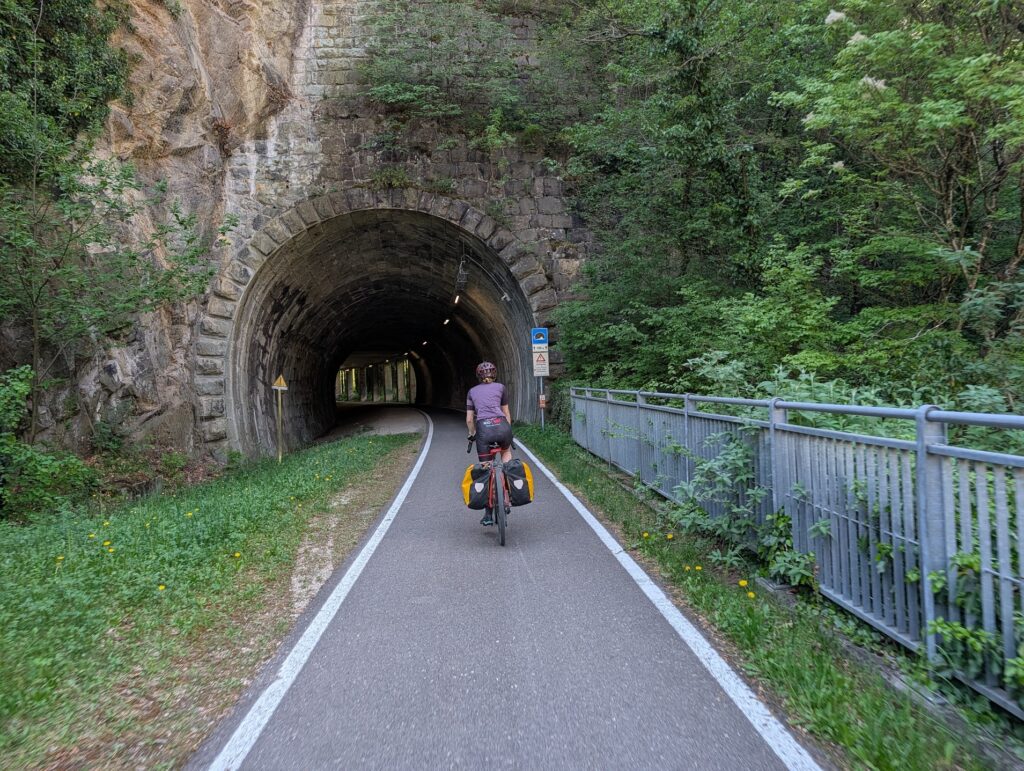
The last riding day. The descent through the Eisack Valley into Bolzano is one of the highlights of the entire route — fast, spectacular, the legs finally getting their reward after days of climbing. Converted trainlines and heaps of old train tunnels
Bolzano itself is a genuinely interesting city. German precision meets Italian charm in a way that shouldn’t work but absolutely does. We finished the trip with a celebratory ice cream and a wander around the city. We did not stay overnight.
We caught the train back to Munich with the bikes in the carriage. The logistics of the return need planning in advance — see the train tips section below.
💡 TIP: Otzi the Iceman is a must see. The museum is closed on Mondays (the day we arrived) Just another reason to return.h other.
💡 TIP: Book bicycle spaces on the Bolzano to Munich train well in advance. The OBB system is excellent but bike carriages fill up. We pre-booked and had no issues — don’t leave this to chance.
The Train Question — The Most Important Planning Decision
You cannot plan this route without first solving the train problem. Bike spaces on European trains are limited, book out early, and in some cases don’t exist at all. We learned this is the first planning step — not an afterthought.
⚠️ WARNING: Sort your train bike bookings BEFORE you finalise your route and BEFORE you book flights. Bike availability on trains constrains everything else.
- DB (German trains) had zero bike availability on our corridor when we checked. Zero.
- OBB (Austrian trains) had space on the identical route. Always check both operators on cross-border stages.
- Book bicycle spaces on the return train (Bolzano → Munich) well in advance — we booked Carriage 264, Spaces 192 and 193.
- Arrive at the platform early — OBB requires bikes at the correct carriage position before departure.
- Remove panniers from your bike before boarding — this is a requirement, not a suggestion.
Kit and Gear — What Worked, What Didn’t, and the Qantas Pyjama Hack
Two riders. Two completely different philosophies. Between us we covered the spectrum from orthodox and proven to experimental and occasionally regrettable. Here’s the honest breakdown.
Flying With Bikes — The Packing System
We flew with bikes in soft bags. Before anything goes in, Annie removes the derailleur. This single step protects the most vulnerable component on the bike from baggage handlers and takes her approximately four minutes. It is not optional in our system.
I used the Scicon bike bag and Annie had a light cheapie we got on FB marketplace. The Scicon is great but heavy. Easy to pack and easy to wheel. The cheapie was light, needed handlebars and seats moved but super light. The trade of was the wheels sucked. Nearly a 5kg difference between the two bags.
💡 TIP: Get the bike serviced before you leave. Non-negotiable. A mechanical in Munich is manageable. A mechanical in the Pongau valley is a different conversation entirely.
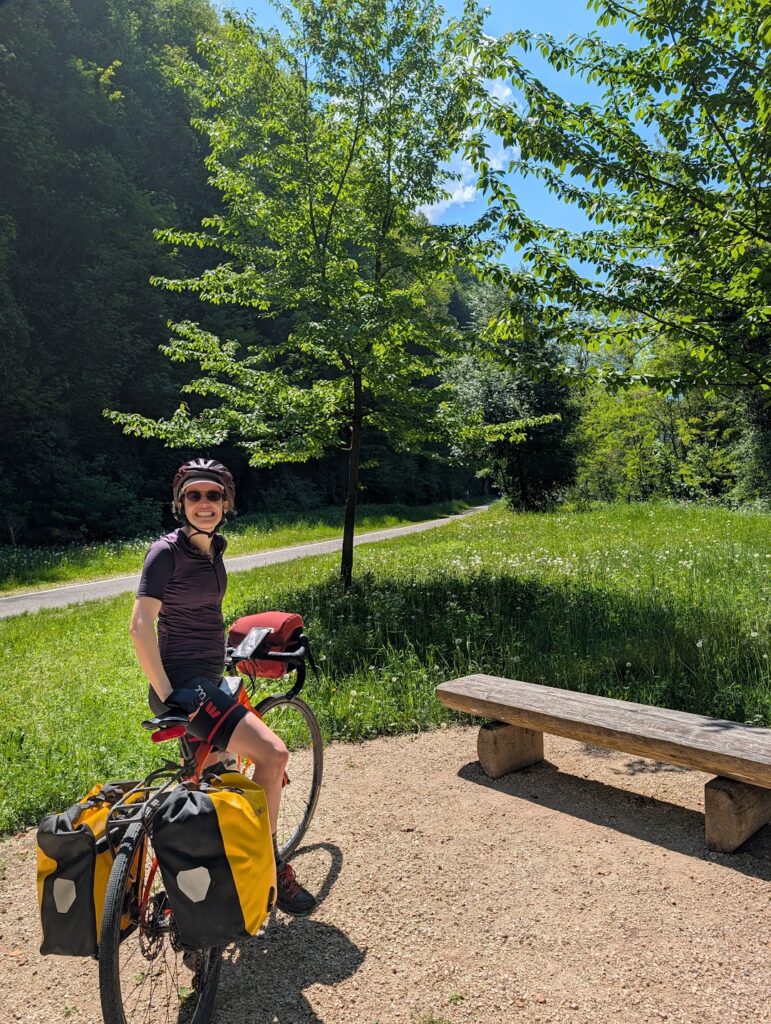
Annie’s Setup — The Orthodox Approach
Ortlieb panniers. Ortlieb handlebar bag. Waterproof, proven, accessible, and completely boring in the best possible way. No surprises across 420km and six stages. She also carried a spare set of tools — a decision that saved the trip on Day 3 when Drew’s tool storage lid came off.
Annie’s philosophy: use what works. Don’t experiment on a trip you’ve flown 22 hours to do.
Drew’s Setup — The Experimental One
I went with front fork bags, a rear saddle bag, a frame bag, and a bottle cage tool holder on the front frame. The theory was elegant. The execution had some issues.
What worked:
- Front fork bags — performed exactly as expected. Accessible, stable, no complaints. I am a big fan of the distributed weight
- Rear saddle bag — solid maybe a bit of swing around corners. No issues across the whole trip.
What didn’t:
- Frame bag — I’ve used them before and should have known better. The fundamental problem: a frame bag blocks access to your drink bottle. You can stuff clothing in it but nothing you actually need while riding. Would not bring again.
- Bottle cage tool holder — I had it underneath the frame and the lid came off somewhere on day 3. Lost half my fancy tools. Annie’s spare set saved us.
⚠️ WARNING: If you use a bottle cage tool holder: tape the lid. Or just use a proper saddle bag. This was my first time using one and put it under the frame because of the issue i had with the frame bag (see below)
⚠️ WARNING: Frame bags and drink bottle cages are mutually exclusive. If you need to drink while riding — and you do — don’t use a frame bag.
Clothing — Where We Got It Right
Merino wool was the unambiguous winner of the trip. The temperature swung from 2.5 degrees to 30. We both ran a mix of Icebreaker and — there’s no shame in admitting this — Aldi merino. The Aldi pieces performed identically to the premium gear at a fraction of the price. Merino regulates temperature, manages odour across multi-day use, and packs small. Nothing else comes close for cycling touring.
- Wool layers — essential. Icebreaker for the pieces that matter, Aldi for everything else.
- Compression tights — worn every evening for recovery. Non-negotiable after days above 60km.
- Swimmers and sandals — earned their place. Bad Gastein’s plunge pools, Alpenland’s facilities, general sanity at the end of hard days.
- POC rain jacket and pants — the jacket earned its place on chilly morning starts. The pants stayed packed the entire trip.
- Three sets of knicks – I packed for all conditions (but the dry cold was manageable withs spring knicks) but could have survived with one set as everything dried quickly overnight.
💡 TIP: Aldi merino when it’s in season is genuinely excellent. Buy it when you see it. It disappears fast.
Tyres — Go Tubeless
Tubeless tyres across 420km of mixed surfaces. Zero punctures. We brought extra sealant fluid as a precaution — the right call, though we didn’t need it. The peace of mind alone is worth the setup cost.
The Bike Cleaning Problem
After six days of alpine riding — dust, chain lube, grit from the passes — the bikes were desperate for a clean. We could not find a single place to properly wash and re-oil them en route. This is a genuine gap in EV7 infrastructure that nobody mentions.
If you’re planning EV7, either carry a small chain cleaning kit or identify bike shops along the route in advance. We managed but the drivetrains were not happy.
💡 TIP: Pack a small bottle of chain lube and a rag. You will need it by day four regardless of conditions. In hindsight I could have used the water from the lovely fountains in Italy.
The Qantas Pyjama Hack — Best Kit Decision of the Trip
Before we left, I took an old pair of Qantas business class pyjamas — the ones that accumulate in the cupboard after long-haul flights — and cut off the arms and legs. The body became a lightweight shorty pyjama set. The arms and legs became cleaning rags and parts separators for the bike bag.
Total cost: $0. Weight: negligible. Utility: surprisingly high. The rags were used to clean the chain, protect the derailleur in transit, and separate greasy parts from clothing in the bag.
This is the kind of optimisation that happens when you’ve packed bikes onto planes enough times. Nothing goes to waste.
💡 TIP: Old airline pyjamas are exceptional packing material. The fabric is soft enough not to scratch components, absorbent enough to clean with, and free if you fly business class with any regularity.
Navigation
Garmin for me, GPS watch for Annie. Both loaded with the official Eurovelo 7 GPX from Eurovelo.com. When signs were ambiguous — more often than you’d expect — we triangulated between devices. The GPX was always right. The signs were sometimes creative interpretations.
Hotels With Pools — Non-Negotiable
Book them wherever you can find them. Bad Gastein’s hot and cold plunge pools after 800m of climbing were the best recovery tool on the trip. The Alpenland in St Johann had good facilities too. The indoor rooftop pool in Hotel Traube in Lienz had views to die.After serious alpine days, pool access is not a luxury. It is maintenance.
Lessons Learned — The Full List
Planning
- Check Eurovelo 7 route completion status at Eurovelo.com before committing to specific segments.
- Solve train bike bookings first — they constrain everything else including flight dates.
- Try multiple train operators on the same corridor — DB and OBB can have completely different availability.
- Start and finish at train-accessible points to enable point-to-point routing.
- Leave a bag of excess kit at your base hotel — we stored gear at the Holiday Inn Munich for 7 days.
- Review the next day’s route the night before — knowing what’s coming changes how you pace and eat.
On the Route
- Download the EV7 GPX from Eurovelo.com — don’t rely on signs alone.
- EV7 is not always signed as EV7 — regional route numbers are used interchangeably.
- In Italy, drink from town square fountains freely — perfectly safe.
- In Germany and Austria, water is harder to find — carry an extra bottle.
- German and Austrian supermarkets are often closed on Sundays — plan food accordingly.
- Book breakfast and half board where available — you will not want to hunt for restaurants after long days.
- Hotels with pools are worth actively seeking out — especially Bad Gastein and Lienz.
- Take time for detours — Burghausen castle nearly got skipped. Don’t repeat our near-miss.
Train Travel
- Bike tickets on German S-Bahn are separate from passenger tickets — buy before boarding.
- The fine is €60 per person. The mistake is easy to make. Don’t make it.
- Pre-book bike spaces, arrive at the correct carriage position, remove panniers before boarding.
What We’d Do Differently — The Dream Eurovleo 7 Version
If time allowed, this is the route we’d ride next time: Passau → [EV7 complete] → Trento
Passau is the classic EV7 start — better connected, more dramatic, and the river confluence is worth a night in itself. Trento as a finish gives you a proper Italian city rather than stopping mid-valley. Add roughly 150km at each end and you have one of the great European cycling adventures.
We’ll get there. This trip was the proof of concept. The first self directed trip after years of organised bike tours.
Planning Your Own EuroVelo 7 — The Tools We Used
- EV7 GPX: Eurovelo.com — download before you leave, load on all devices.
- Train booking: OBB.at for Austrian stages, DB.de for German — check both for bike availability.
- Trip planning: TripMonkey — we planned the entire 16-day expedition in the app .
- Route research: Komoot for segment previews and community notes.
- Merch: We had some cool matching tshirts and bike stickers