Cycling the Shimanami Kaido & Walking the Nakasendo
A few friends, after hearing me bang on about Japan for the better part of a year, asked me to write the trip up properly. Not a highlight reel — the actual route, what it cost, the little hacks that made it work, so they could copy the bits they liked and ignore the rest. So that’s what this is.
I’d only ever been to Japan in winter, to ski, and always to Tokyo. This time I wanted something completely different. We spent zero days in Tokyo — one night, near the airport, and that was it. Instead we flew into Osaka, rode the Shimanami Kaido across the islands of the Seto Inland Sea, walked a stretch of the old Nakasendo post road through the mountains, and went home via Nagoya. Ten days, June, and not a drop of rain.
Here’s how it ran, with the hacks that mattered.
First hack, before anything else: sort your data. An Airalo eSIM worked a treat in Japan — loaded before we left Australia, live the second we landed, no roaming bill and no hunting for a SIM. It matters more than you’d think: we ran the whole trip on our phones, and when our cycling host needed to reach us mid-route we sorted it over Facebook Messenger from the saddle. Maps, train times, translating menus, staying in contact — none of it works without data. Get this done first.
(Small referral our way if you use our link — doesn’t change your price.)
Why we based ourselves in Osaka
Osaka was the anchor for the whole first half of the trip, and choosing it was deliberate. It’s Japan’s Sydney to Tokyo’s Melbourne — a bit louder, a bit more relaxed, and superbly connected to everything we wanted to do. Just saying.
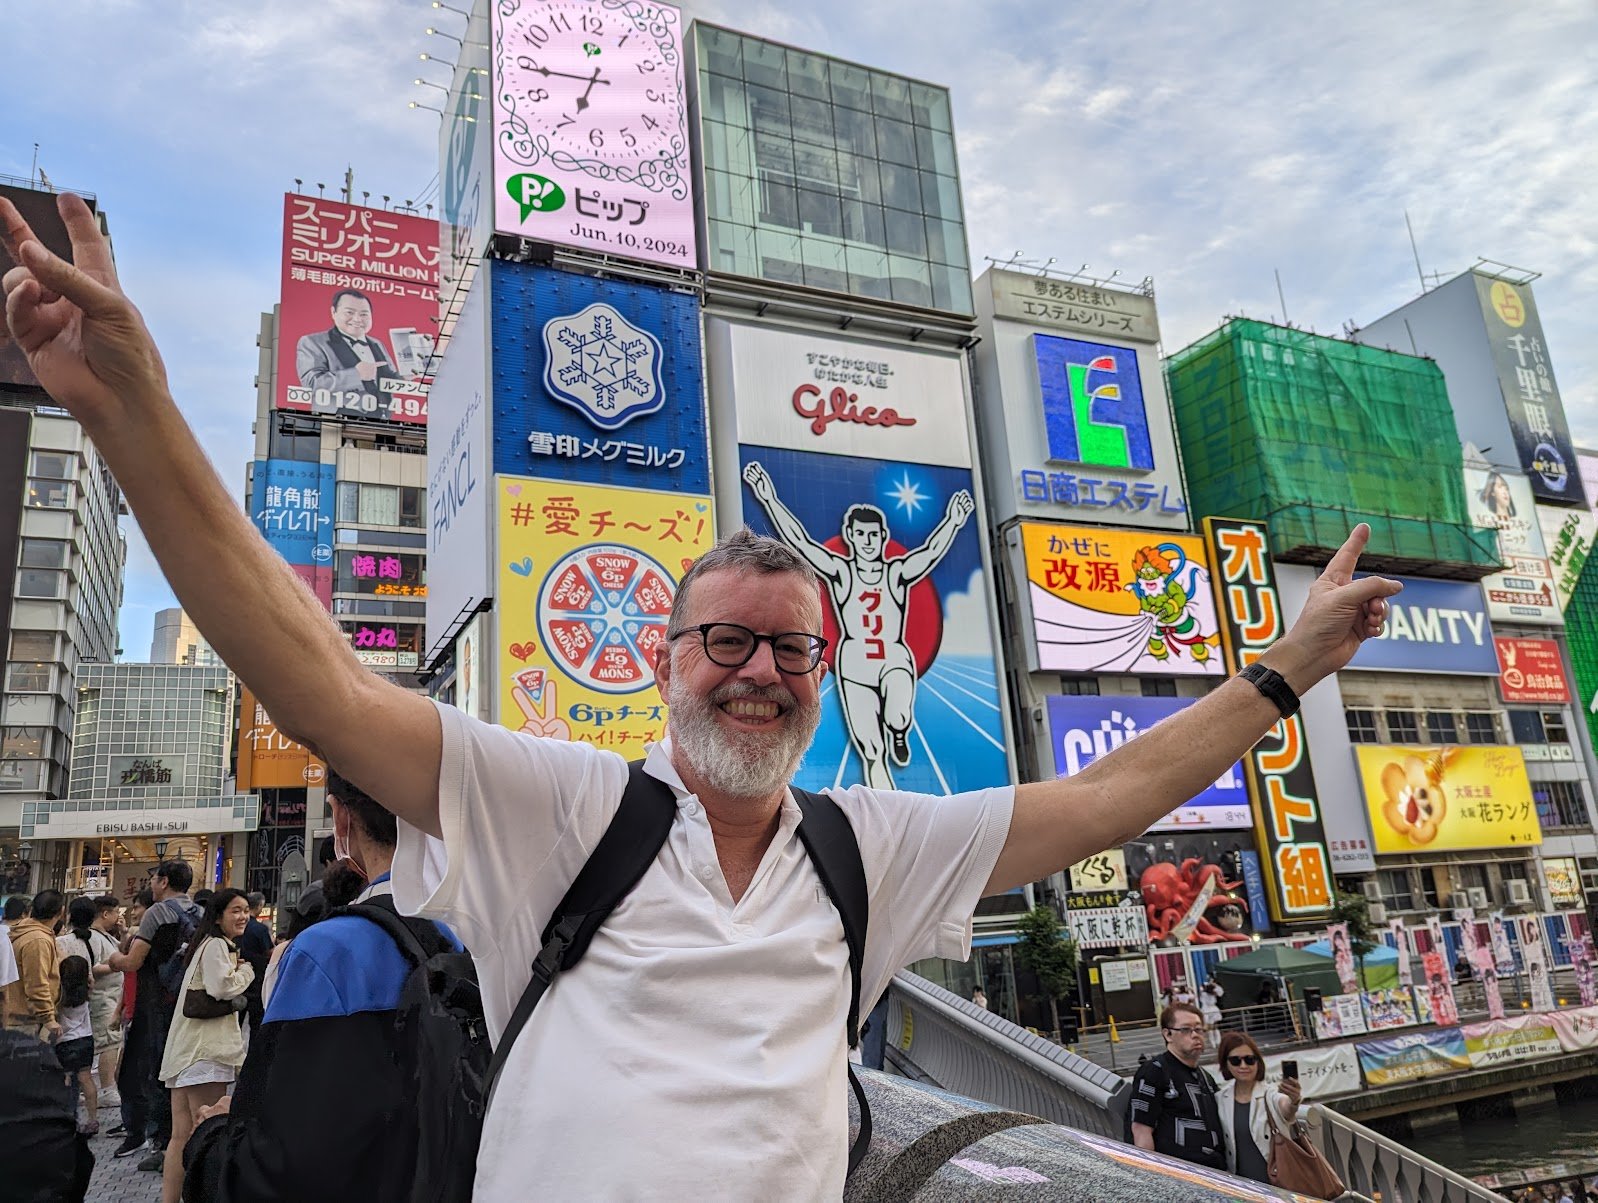
The real hack: we never moved hotels to see Kyoto. We just day-tripped and stayed put. The upside is it’s a lot cheaper — one base, no dragging bags between cities, and Osaka rooms cost less than Kyoto ones. The downside is the peak-hour trains, which are a genuine crush. Being relatively tall, I could at least breathe over the top of it. Julie, who is not, had a different experience entirely.
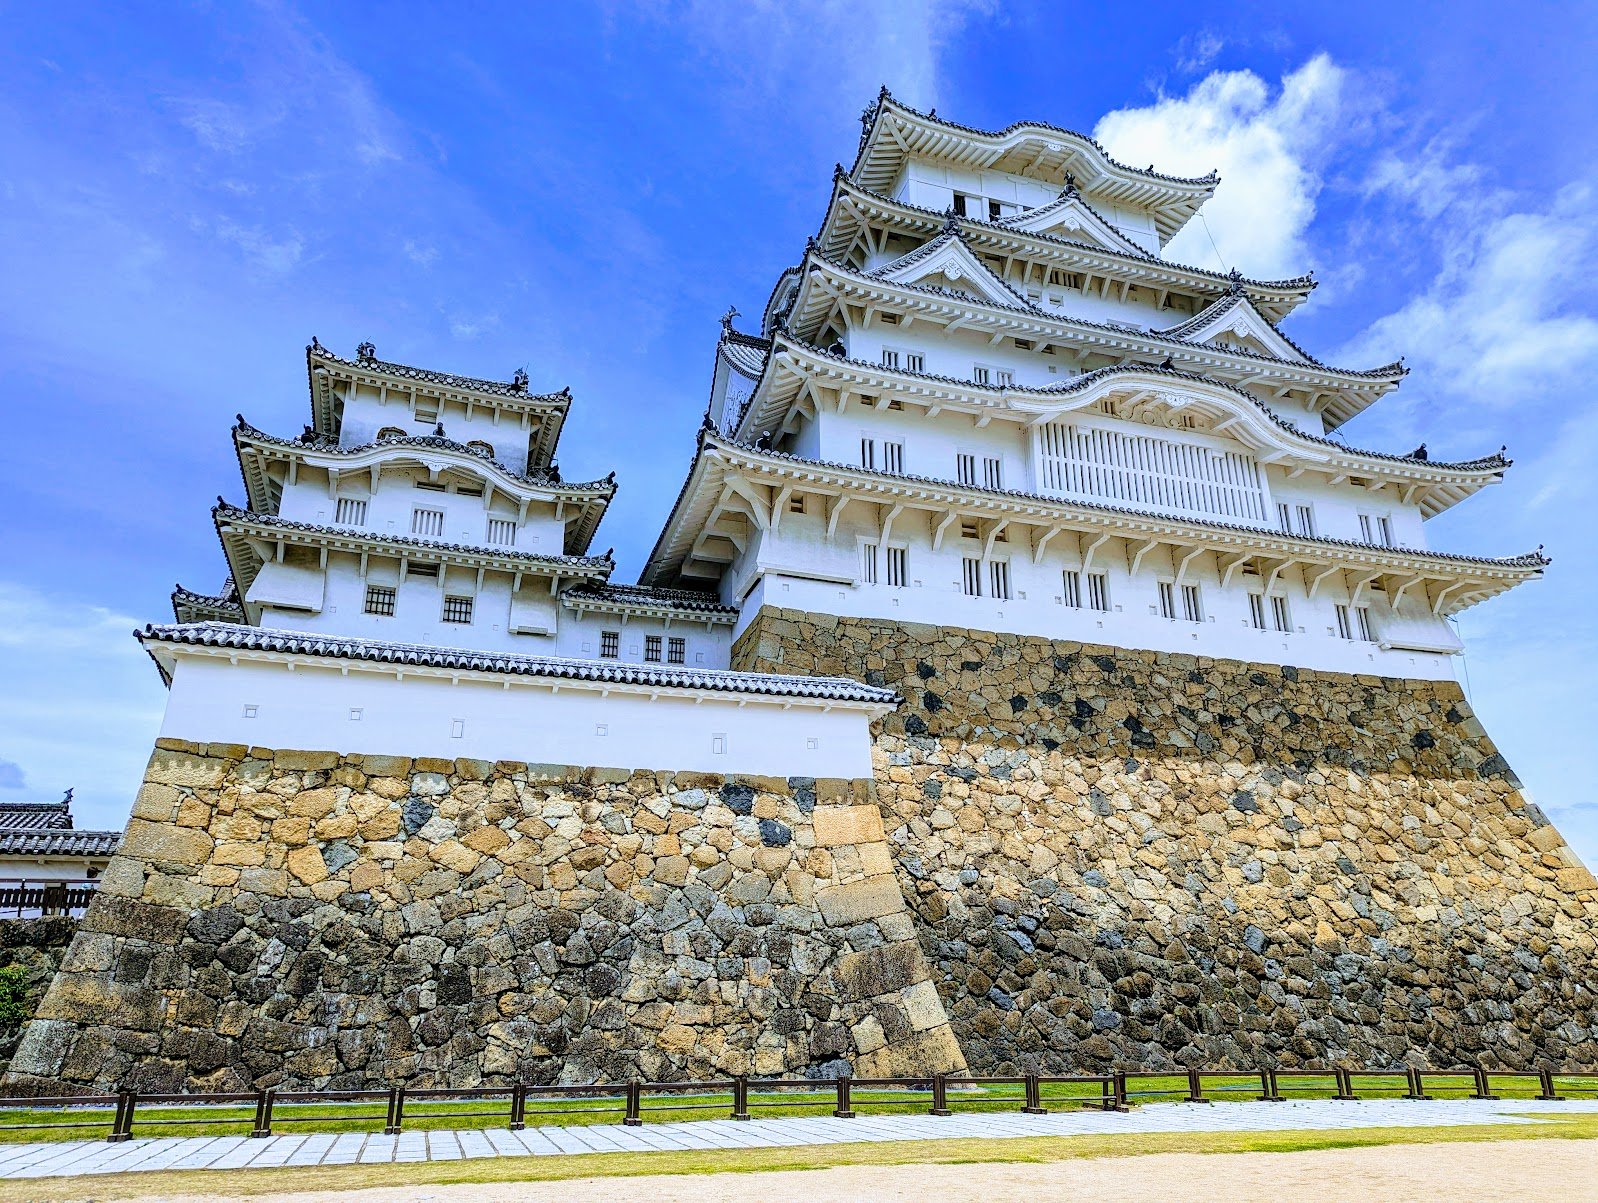
Himeji is the other easy one — the white castle is a straightforward train ride from Osaka, there and back in a day with time to spare. The point of Osaka is that everything you’d want is a short, simple train away, so you spend your time at the places rather than in transit between hotels.
The train ticket hack: get an ICOCA card
Everyone, everywhere, was extraordinarily helpful with train tickets. But the thing to sort early is an ICOCA card. It’s a rechargeable tap-on, tap-off IC card you buy from the machines at the station — load it with cash, touch it to the gate, and it gets you around trains, buses and even shops across most of the country. No working out individual fares, no queues.
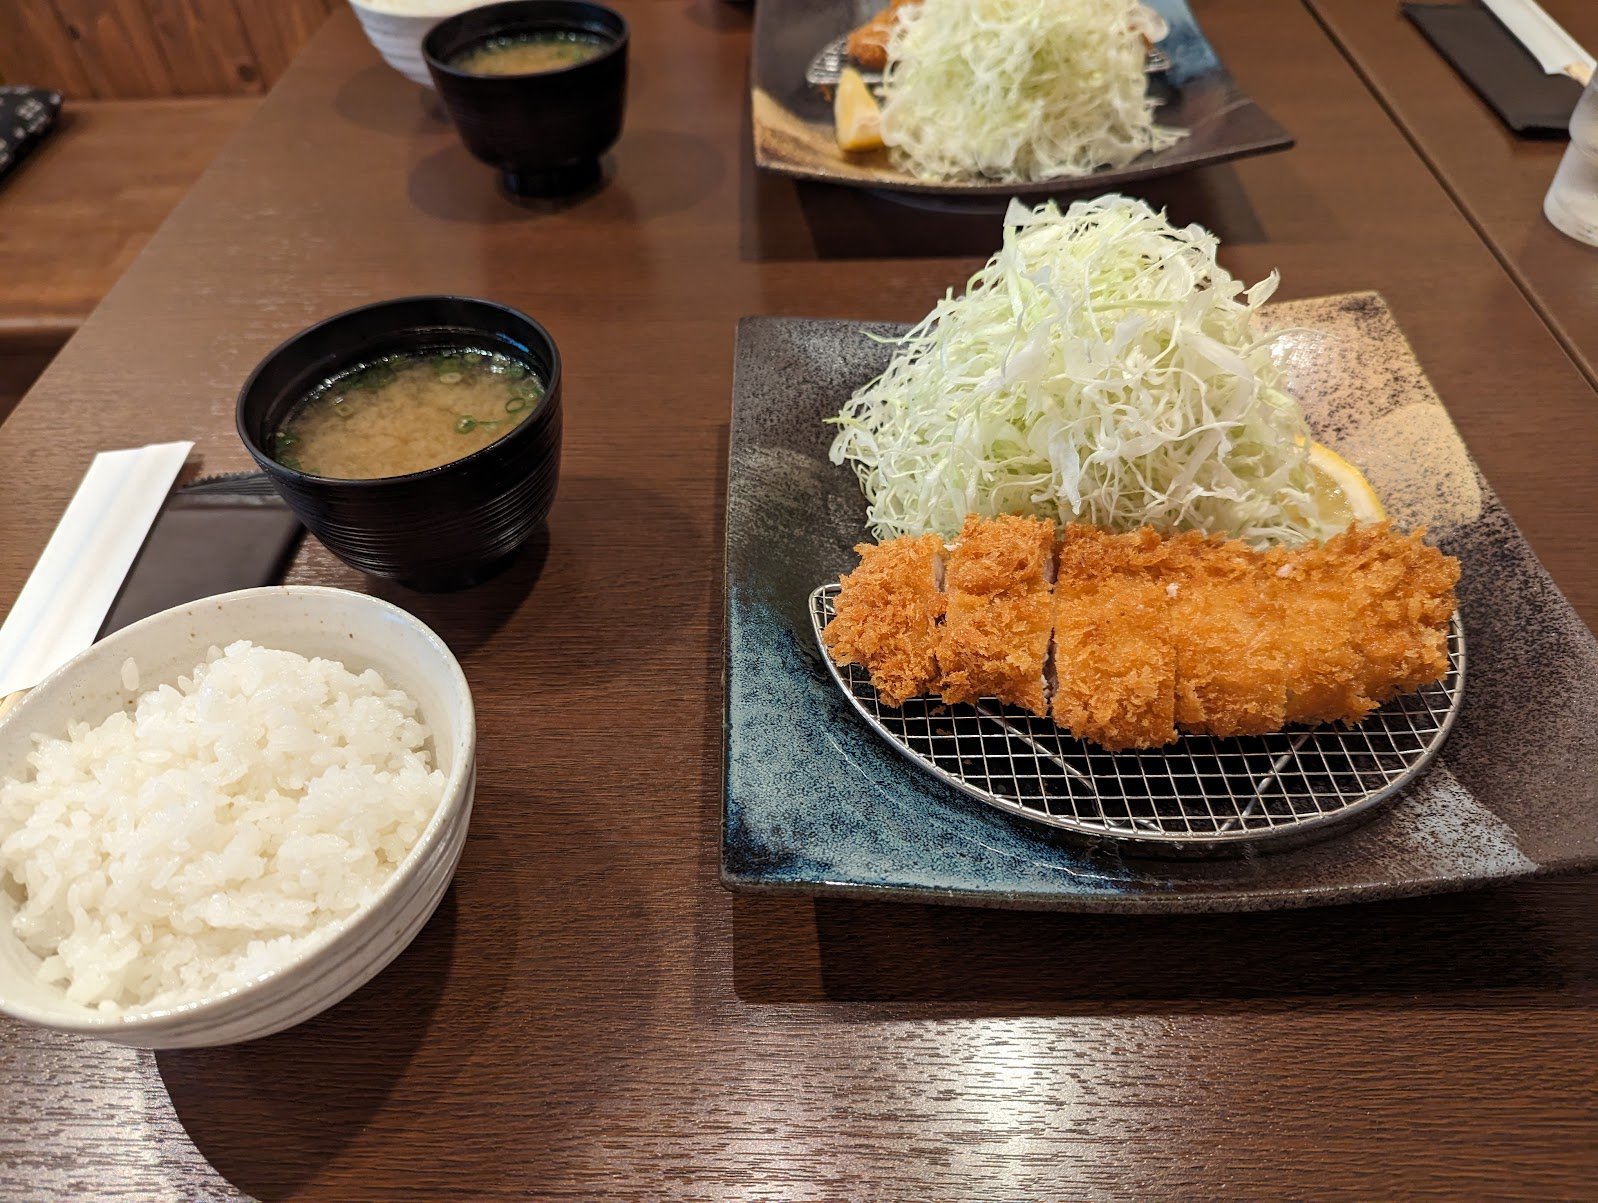
Eating: let Michelin do the work
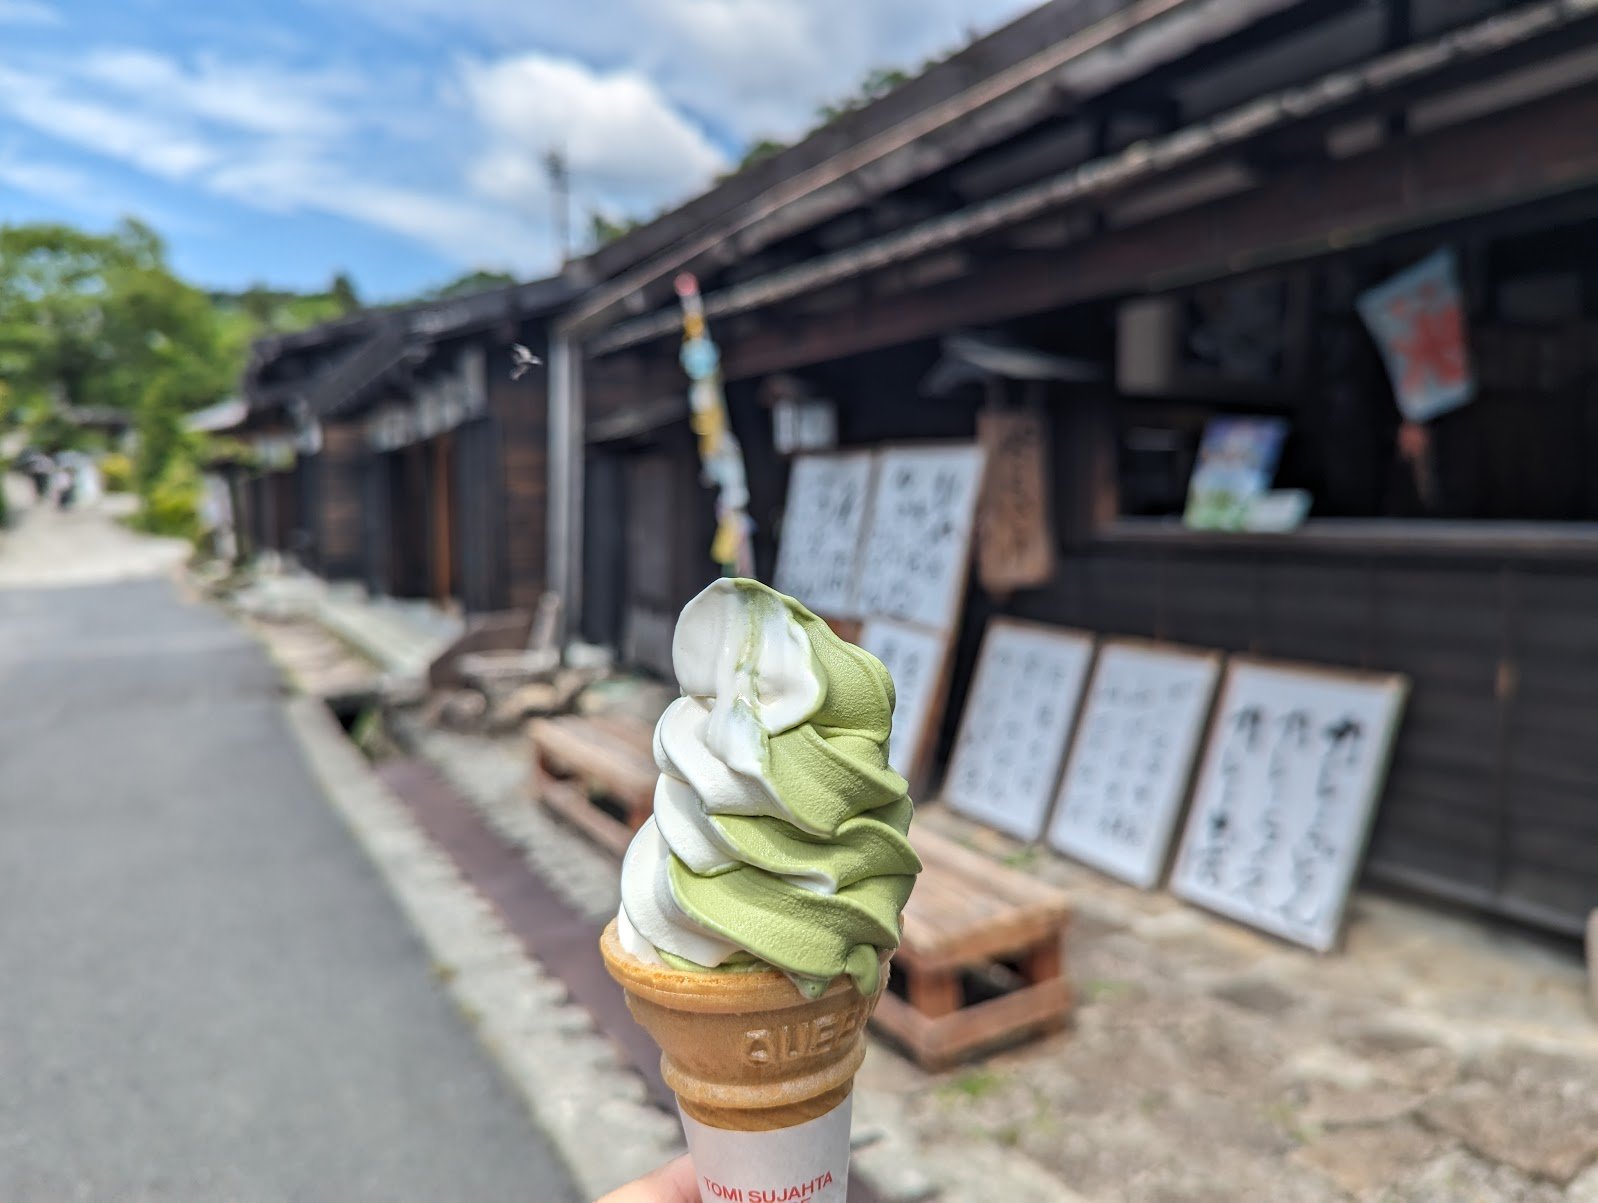
Our other trick was using the Michelin Guide to find the cheap eats, not the expensive ones. The guide quietly lists a lot of small, affordable places — the Bib Gourmand end of things — and across Japan, and especially in Osaka, it steered us to genuinely good, cheap meals we’d never have found wandering. It’s the opposite of how most people use Michelin, and it works.
Onomichi: the start line, by ferry
When the cycling part began we took the train to Onomichi, the port town at the western end of the Shimanami Kaido. We stayed overnight to give ourselves an early start and two full days for the cycle, which I’d recommend.
Onomichi is lovely — it tumbles down a steep hillside to the water, full of temples, lanes and cats. But I’ll be honest about one thing: finding dinner was hard. We wandered for ages, were told that visibly empty restaurants were “full,” and in the end gave up and ate at the hotel.
The start of the ride itself is one of the best bits. You don’t roll out of town on a road — you begin on a little ferry across the harbour. A perfect way to start.
Cycling the Shimanami Kaido, day one: Onomichi to WAKKA (55 km)
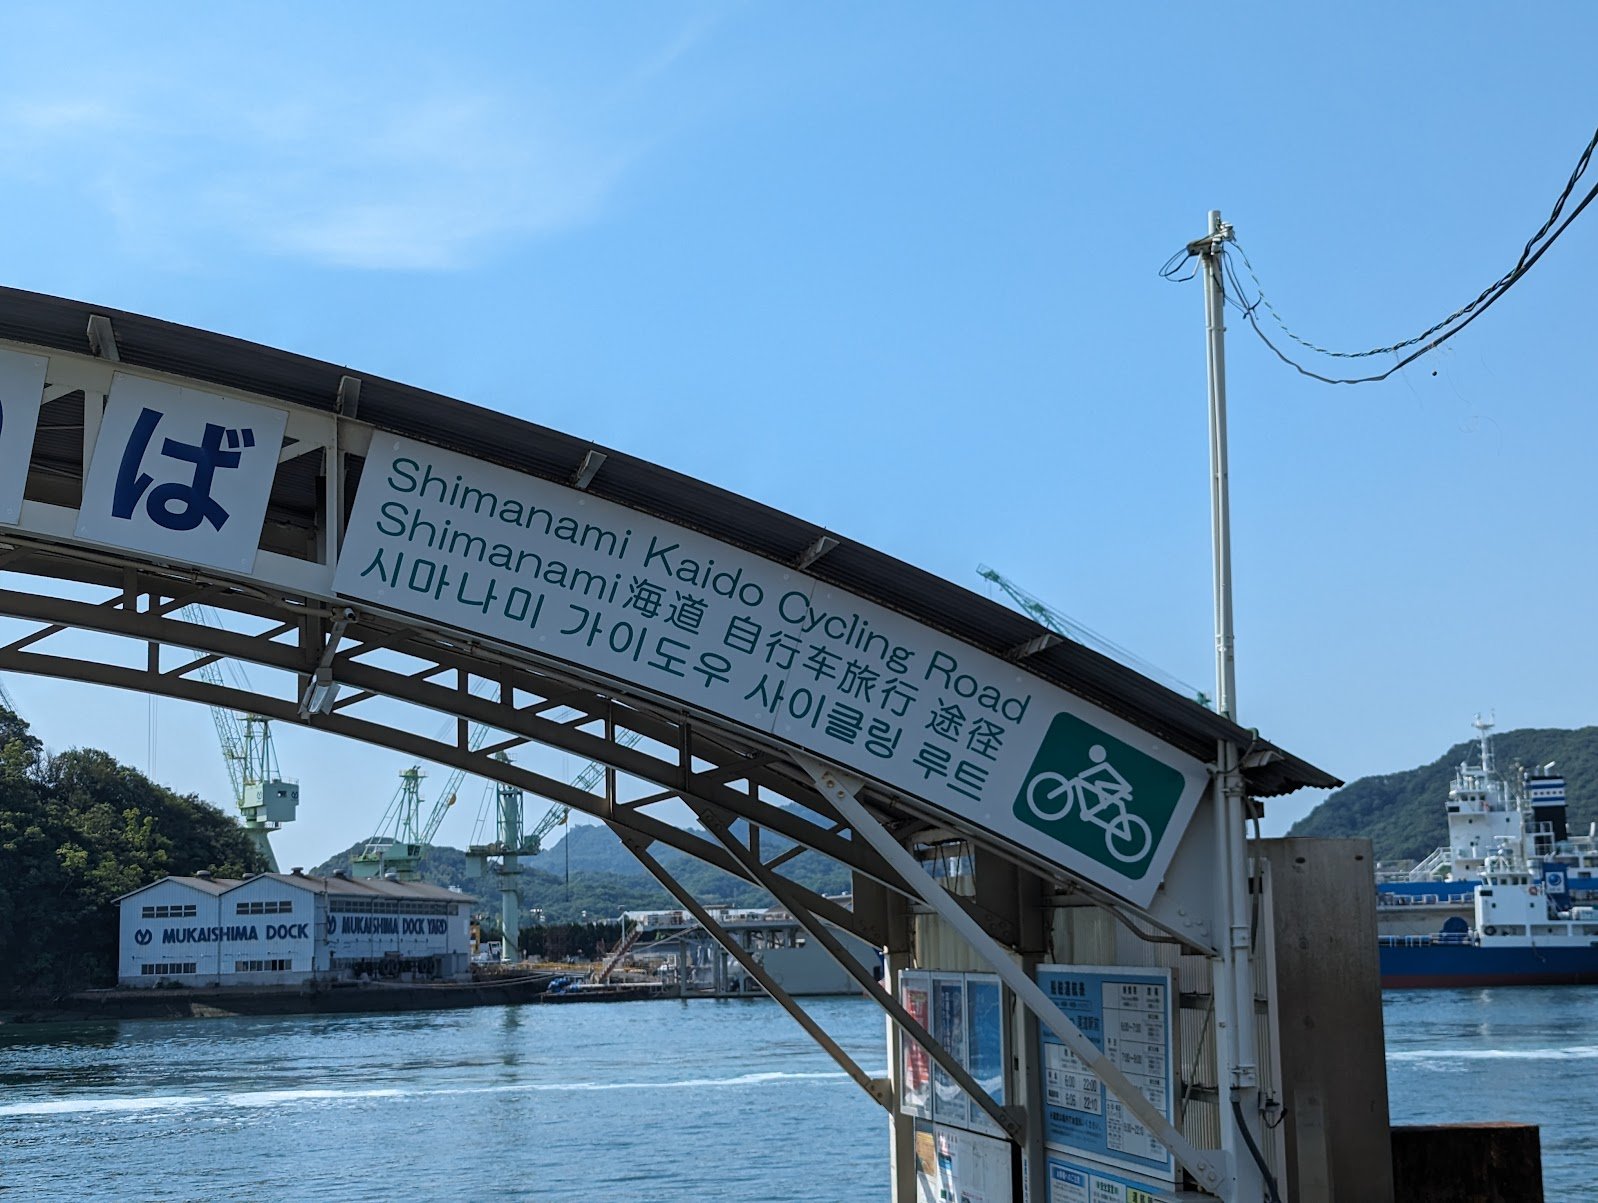
The Shimanami Kaido is about 70 km of dedicated bike path and soaring suspension bridges, hopping island to island from Honshu to Shikoku. You can do it in a day. We took two, with a night in the middle, and I’d urge anyone to do the same.
We booked the whole thing through WAKKA, a cycling guesthouse on Omishima Island at roughly the midpoint, and it was the single best decision of the trip — a genuine game-changer for us. They put two Specialized Turbo Vado e-bikes in our hands, delivered to Onomichi for a 9am start, and — the part that matters — drove our luggage ahead to our room.
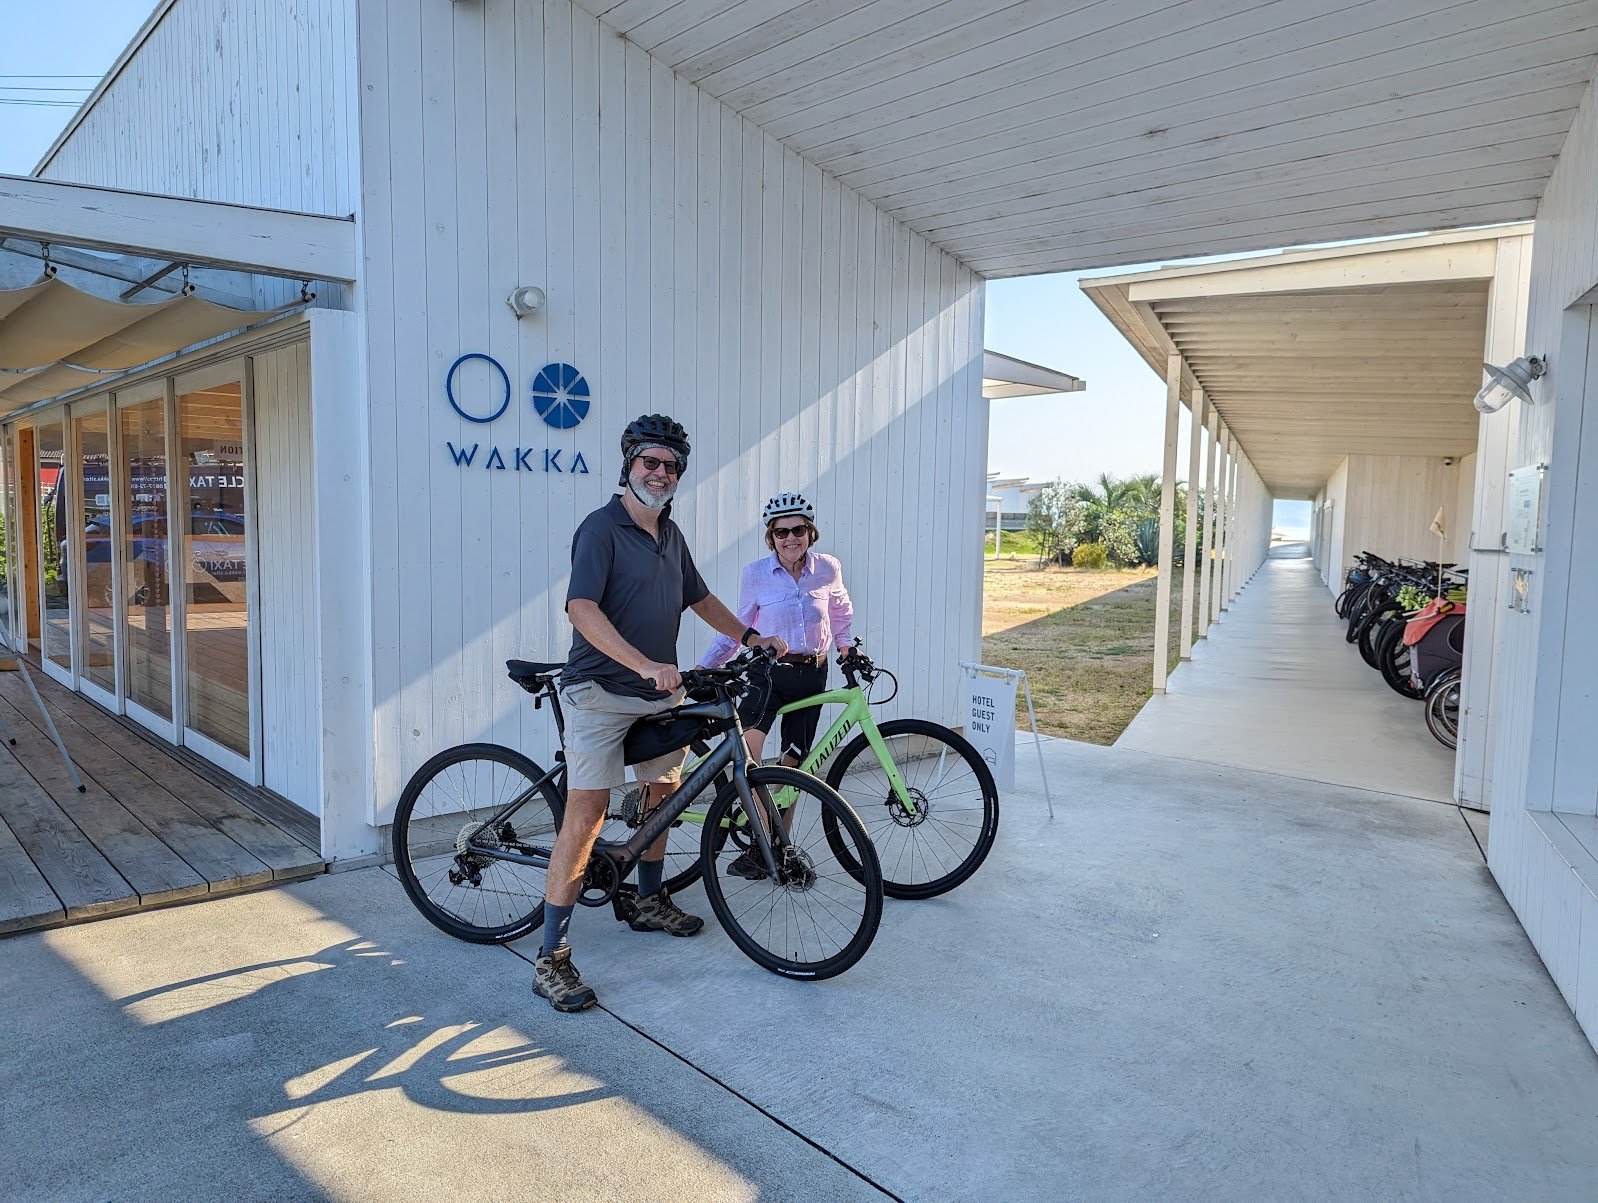
A quick note on that, because we nearly did it differently. We travel hand-luggage only, so we almost booked bikes online with Giant and carried our own bags. Giant, as it turned out, didn’t mind us bringing bags. We also looked at Bounce, the luggage-storage service, but that would have meant returning to Osaka to collect everything, which we didn’t want to do. WAKKA solved all of it — bikes, helmets, lock, and bags carried to each stop — so we rode with nothing on our backs.
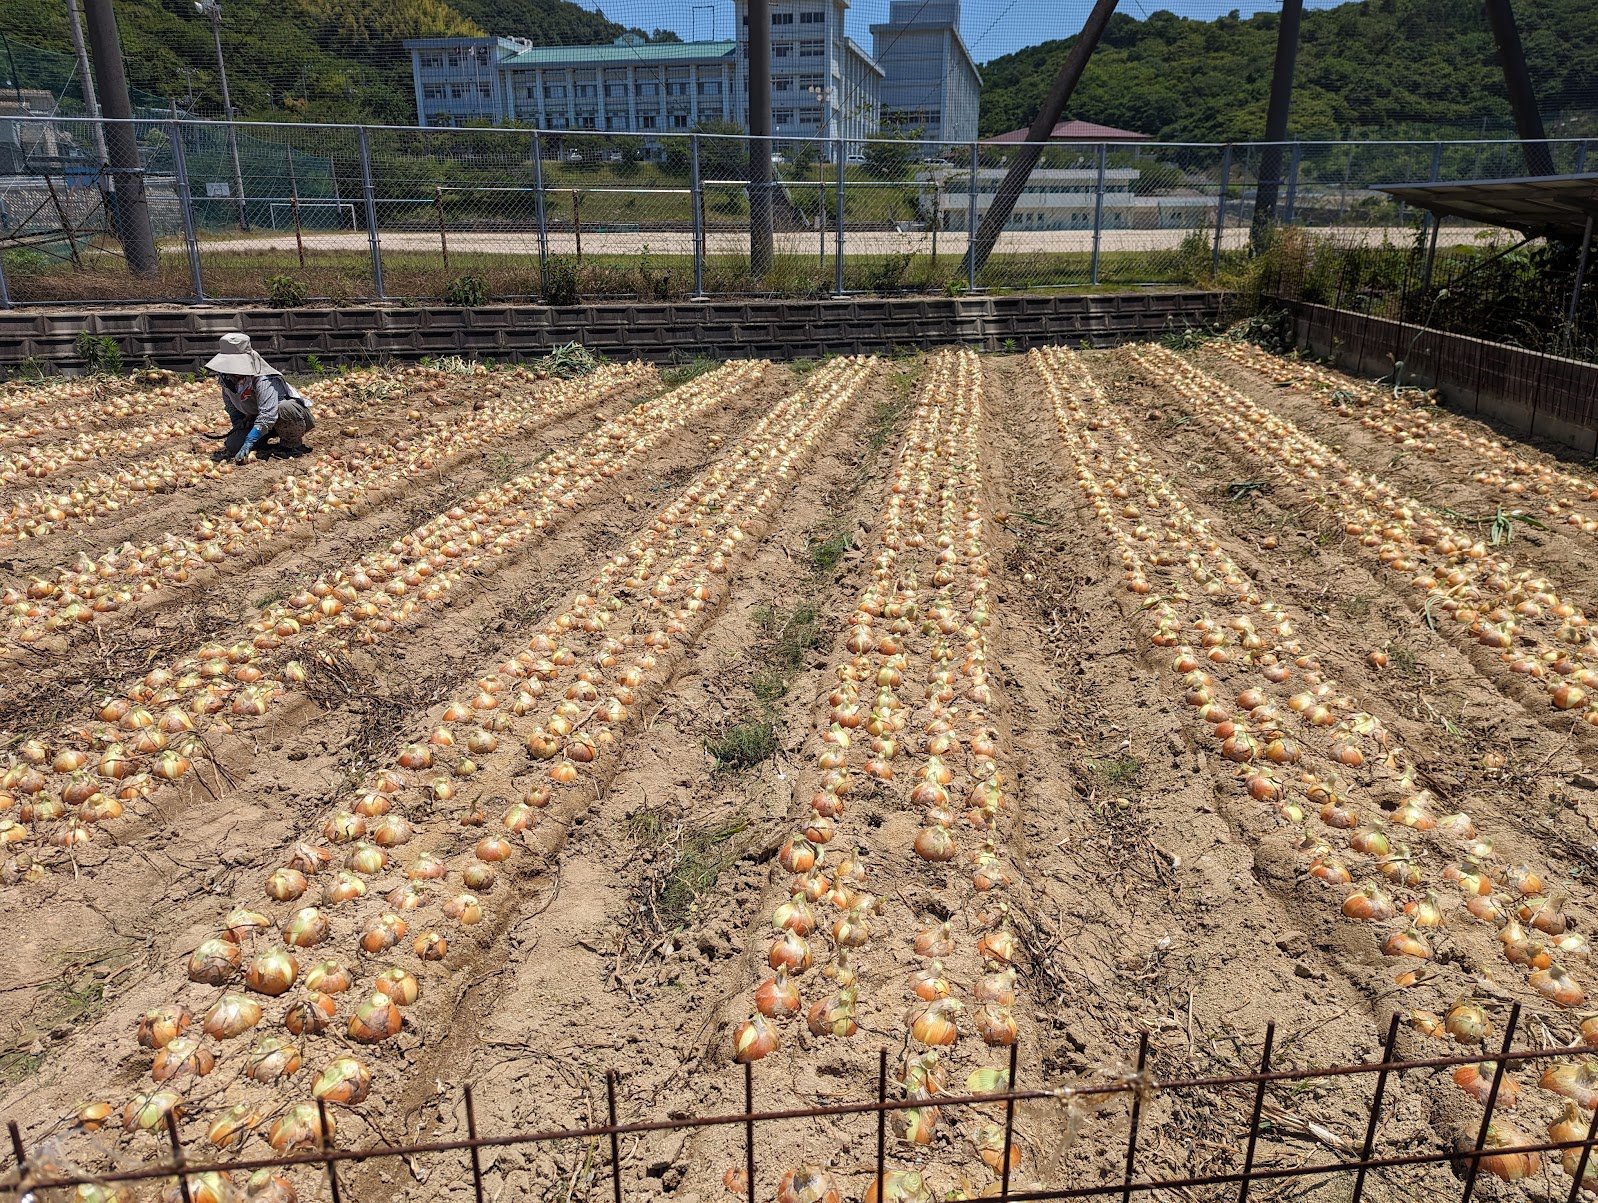
Two things surprised me. First, how rural it still is — we stopped and chatted to a mother and daughter harvesting onions by hand in a field, who told us it was a dying tradition. Second, don’t be fooled by the postcard: there’s still real heavy industry along parts of the route, though somehow it blends in rather than spoiling it. And barring a few kilometres here and there, the whole way is car-free, which is extraordinary.
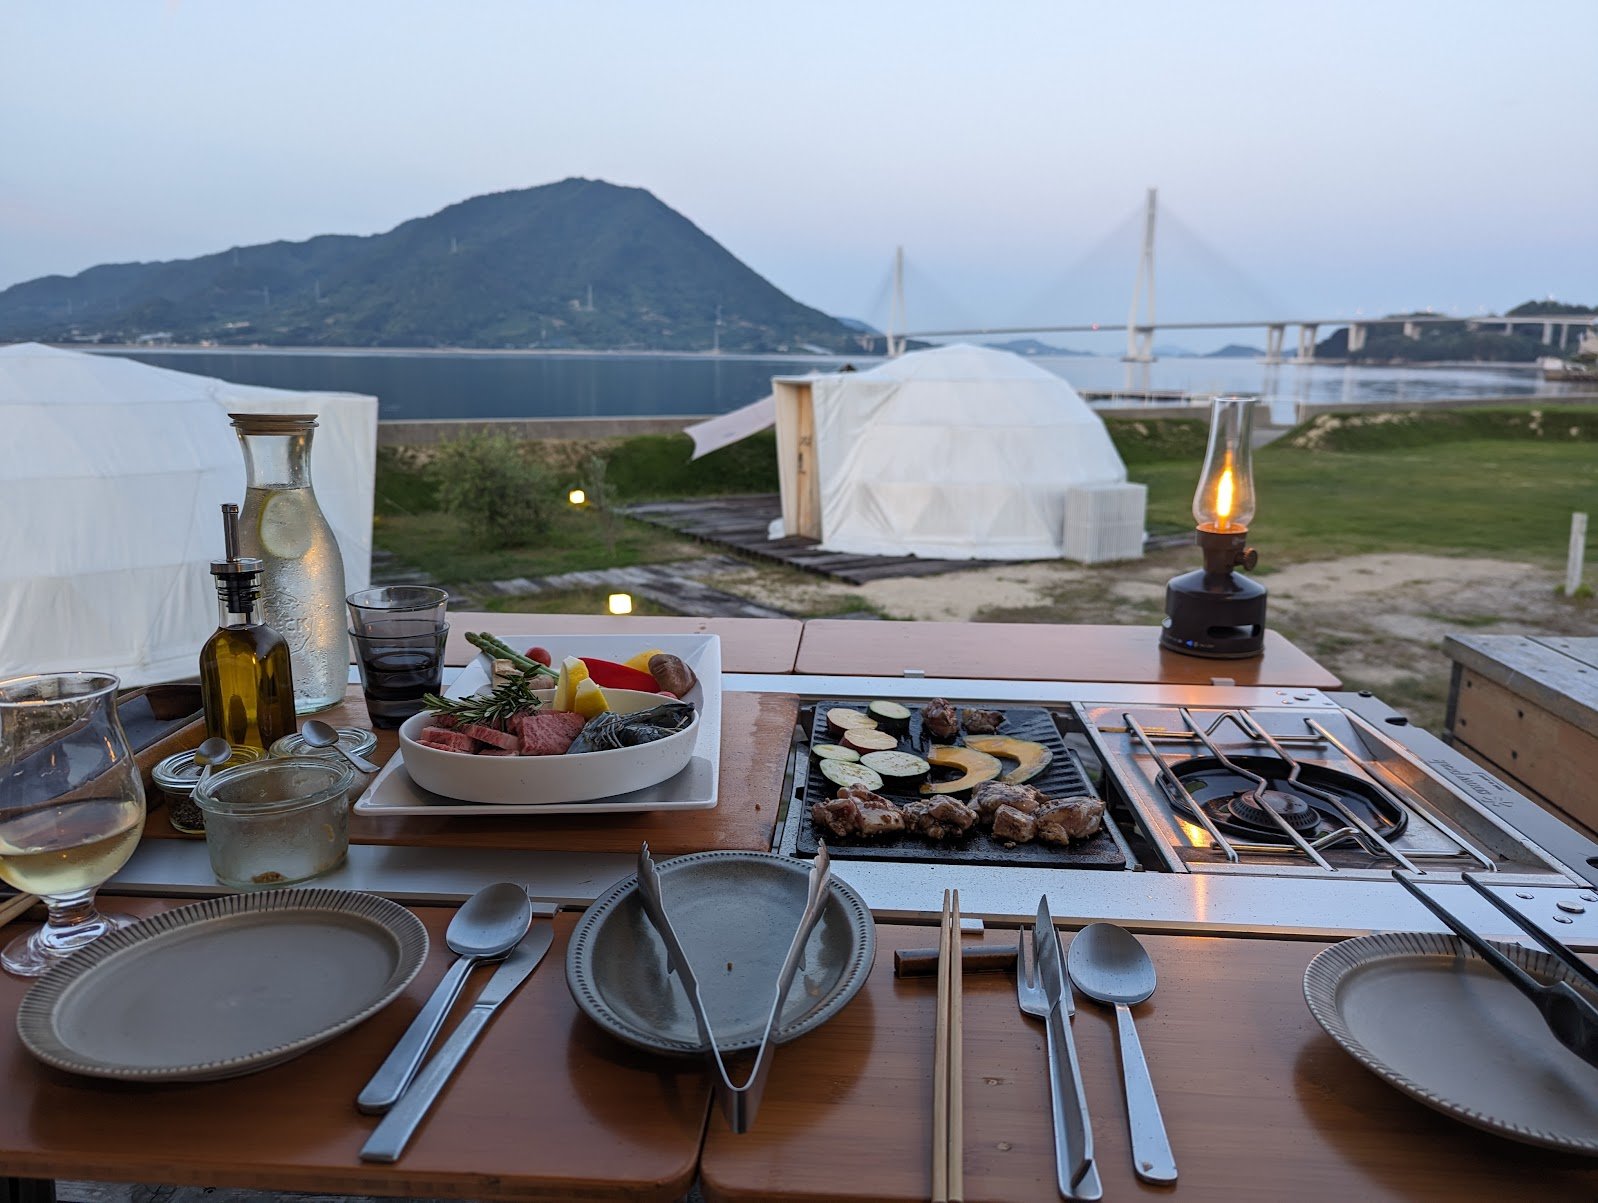
WAKKA itself sits on the water. The half-board package included a BBQ dinner grilled at the table, with the bridge and the sea as the view, and a shuttle to the local public bath afterwards. After 55 km, fairly perfect.
Day two: WAKKA to Imabari (40 km)
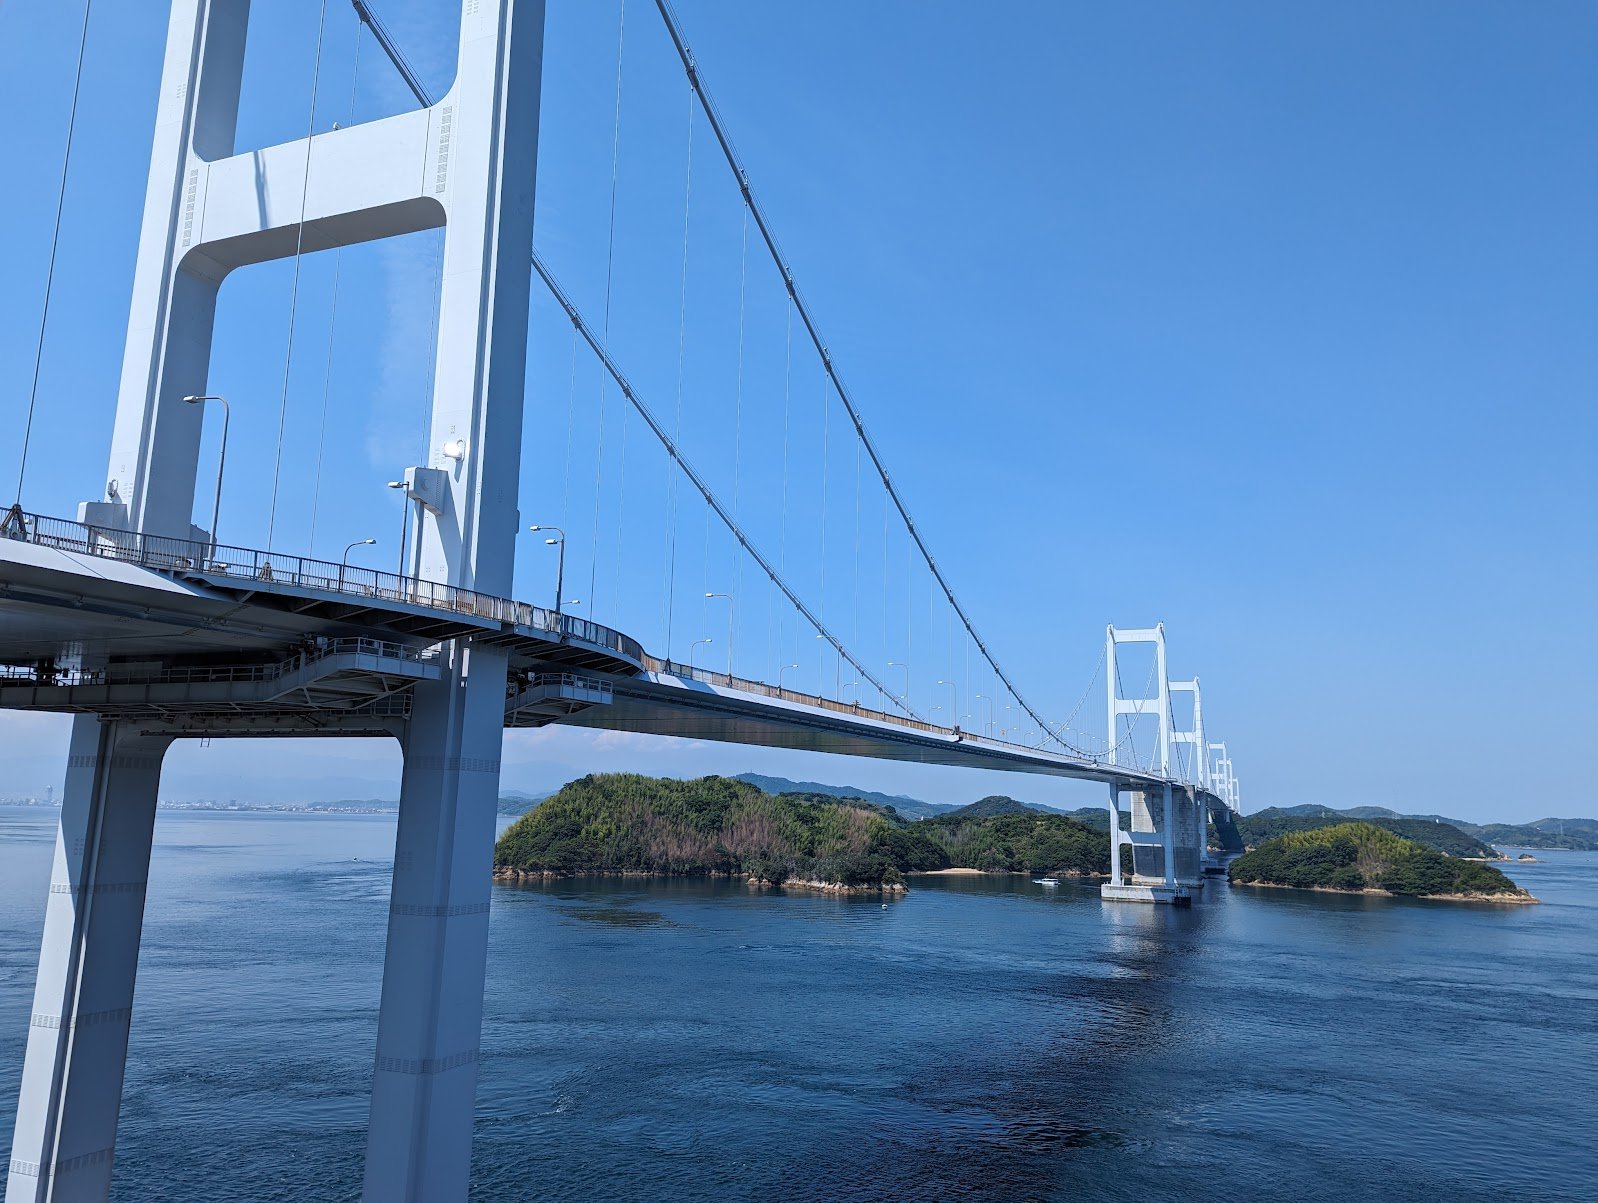
Breakfast, then the second leg down to Imabari on Shikoku — 40 km finishing over the Kurushima Kaikyo Bridge, the longest stretch on the route and genuinely spectacular: three suspension spans in a row with the tide ripping through the channel below.
Day two rides easier — legs warm from day one, and a nice momentum to finishing a route you started yesterday. WAKKA’s service ran right to the end: bags ahead again, bikes handed back at a cycle station near the finish. Then the trains. We didn’t do anything ceremonial in Imabari — we grabbed sandwiches from a 7-Eleven for the journey, which sounds like a confession until you’ve had one. Japanese convenience-store food is a small marvel, and those sandwiches were delicious. If I did it again, I’d stay longer and loop each island properly. Next time.
The weather, since everyone warned us off June
Everyone told us June would be hot and wet — the tail of the rainy season. For us it was perfect: sunny skies, no rain, comfortable on the bike. Weather is luck, but don’t let “June is the rainy season” automatically scare you off it. We’d go back the same week.
From Imabari to the mountains
From Imabari it was a few hours of trains north-east to Nagoya, the back half on the Shinkansen, which is the easiest travelling you’ll ever do. We based at a business hotel near Nagoya station — clean, central, walkable to the trains for the day trips either side.
Walking the Nakasendo: Magome to Tsumago (10.5 km)
The Nakasendo was one of the great old highways of Japan, linking Kyoto and Edo through the mountains. The most-walked section today runs between two preserved post towns, Magome and Tsumago, in the Kiso Valley — about 8 km of trail, a little over 10 once you’ve wandered both towns.
From Nagoya it’s a local train to Nakatsugawa, about 45 minutes, then a short bus to Magome. Magome is a steep stone-paved street of old inns and sake breweries, and the trail climbs out the top of it into cedar forest. From there you walk back through another century — waterfalls, streams, rice paddies, and the odd bear-warning bell to ring as you pass. We met no bears. I rang every bell anyway.
It’s not hard — steady up out of Magome, then a long gentle descent into Tsumago, which is the better-preserved of the two and arguably the prettier. Cars are kept out during the day and there’s very little to tell you what century you’re standing in.
Nagoya, looms, and a Toyota you didn’t expect
Our last full day went to Nagoya, and to a museum that surprised me more than anywhere else on the trip. Most people picture Toyota and think cars. But the company didn’t start with cars at all — it started with looms. Sakichi Toyoda was an inventor who built automatic weaving machinery, and the business grew out of textiles before his son moved it into automobiles.
The Toyota Commemorative Museum of Industry and Technology, in central Nagoya, tells that story on the actual site — it’s housed in the original red-brick spinning mill, walking distance from the station. One half is full of looms, run live by staff so you can hear and watch them work, tracing the whole arc from hand-spun cotton to automatic machinery. The other half is the cars. There’s even an early contraption that’s essentially an engine built to bolt onto a bicycle — which, after two days on an e-bike, made me laugh. The whole assist-a-bike idea is more than a century old.
I walked out with a set of tea towels for the family, woven on the museum’s own mill. A better souvenir than a fridge magnet, and a small piece of the actual history.
That evening, the Shinkansen to Tokyo, one night near the airport, and home the next morning.
A word on Kansai Airport
One last thing worth saying: KIX itself is remarkable. It’s a custom-built airport on an artificial island in the inland sea — you land on a strip of reclaimed land in the middle of the water. A genuinely impressive piece of engineering, and a good first taste of the country’s appetite for building ambitious things.
Where we stayed
One base per leg, nothing fancy, chosen for location. A word on the plain business hotels we used in Nagoya and Tokyo: they’re one of the most cost-effective ways to see Japan. No frills, compact rooms, but spotless and always a short walk from the station — which, when you’re moving every couple of days, is exactly what you want. Here’s the full list if you want to copy it.
- Osaka (4 nights): Wabi Sabi Osaka — a small, well-designed guesthouse, good base for day trips. Booked via Booking.com. [easily Googled.]
- Onomichi (1 night): Hotel Cycle, Onomichi (U2) — cycling-themed hotel on the waterfront with an on-site Giant store; the obvious start-line base.
- Omishima Island (1 night): WAKKA — the cycling hub and guesthouse at the midpoint, where we booked the whole inclusive package direct (we sorted it over Facebook). [hotel page]
- Nagoya (2 nights): Comfort Hotel Nagoya Meiekiminami — plain, clean, walkable from the station. Booked via Booking.com.
- Tokyo (1 night): Shinagawa Prince Hotel — one night near the airport before the morning flight home.
How to copy this trip
- Fly into Osaka (Kansai), home out of Tokyo (Haneda) so you don’t double back. About ten hours each way.
- Base yourself in Osaka for the first stretch. Day-trip to Kyoto and Himeji rather than changing hotels — cheaper and simpler, at the cost of a peak-hour train crush.
- Buy an ICOCA card at the station on day one for all local trains and buses.
- Load an Airalo eSIM before you fly — it works a treat in Japan and you’ll be navigating constantly.
- Use the Michelin Guide to hunt the cheap eats, not the expensive ones.
- Train to Onomichi, stay one nights, and book dinner ahead.
- Cycle the Shimanami Kaido over two days with a night at WAKKA. Book the inclusive package — bikes plus bag transfer — rather than piecing it together. Around ¥102,000 for two when we went, but check current pricing direct with them.
- Shinkansen to Nagoya. Day-trip to Magome and Tsumago for the Nakasendo, and keep a day for the Toyota Commemorative Museum near the station.
- Shinkansen to Tokyo, one night, fly home.
And if you’re routing through Sydney, Singapore or anywhere with a long layover on the way, it’s worth knowing which lounges your cards actually get you into before you’re standing at the door. Try our free Lounge Finder →
More two-wheel trips from Points Brotherhood. If this has you scheming, here’s where else we’ve ridden and written it up.
Overseas: seven days through Bordeaux and the Dordogne, the EuroVelo 7 from Burghausen to Bolzano, and gravel rides out of Munich on the S-Bahn.
Closer to home: Sydney’s cycling climbs, mapped and ranked, and the top 5 gravel rides from Melbourne.
We left Japan saying we’d come back and ride each island properly next time. We meant it.
Frequently Asked Questions
Should you stay in Kyoto or Osaka?
What is an ICOCA card and do you need one?
How long does it take to cycle the Shimanami Kaido?
Do you need an e-bike for the Shimanami Kaido?
Should you book a luggage-transfer package on the Shimanami Kaido?
How hard is the Nakasendo walk from Magome to Tsumago?
Is June a good time to visit Japan?
Which Toyota museum should you visit in Nagoya?
How do you find cheap places to eat in Japan?
Do you need a SIM or eSIM for Japan?